⟲ back to ingoraschka.com
CARTOON ASSETS
Unpacking the medium of animation. A blog by ingo raschka.
Unpacking the medium of animation. A blog by ingo raschka.
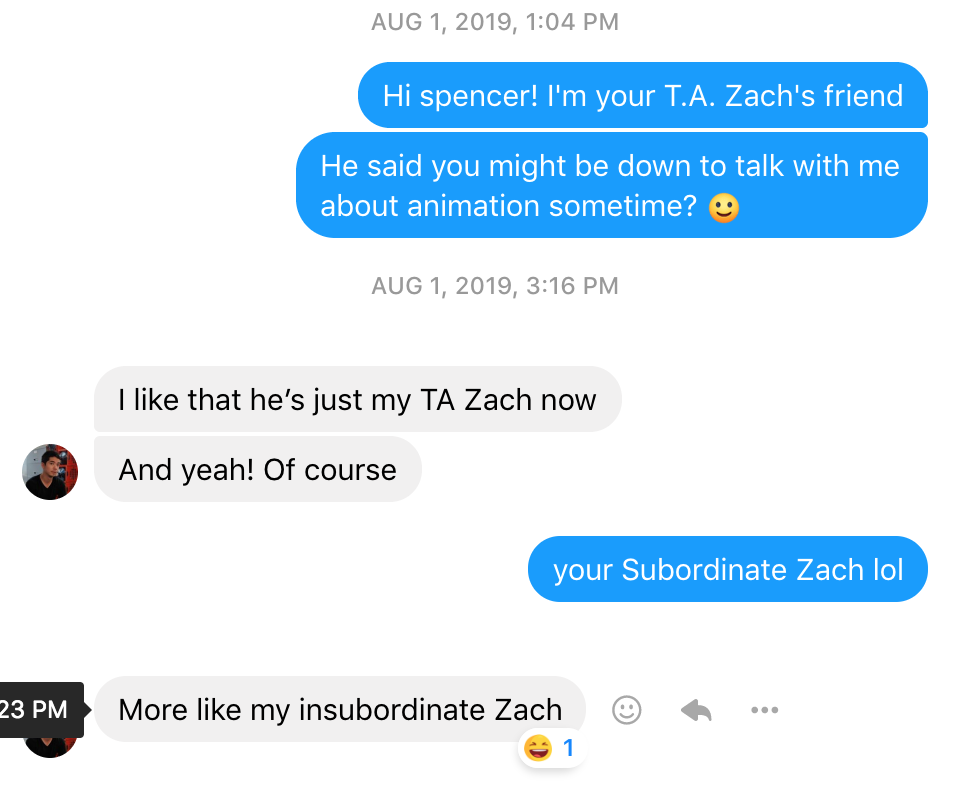
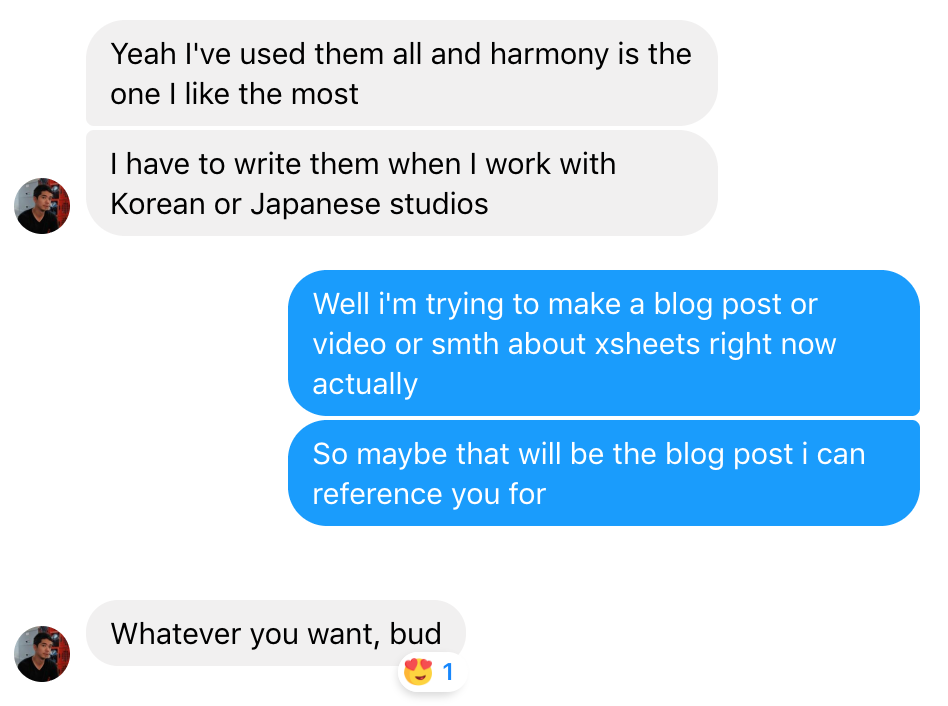
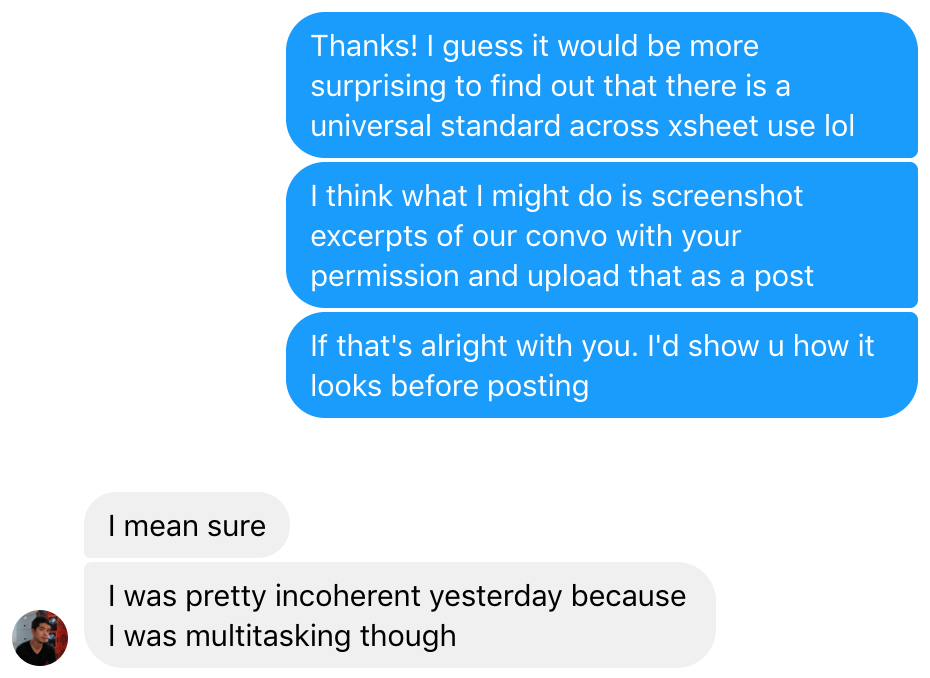
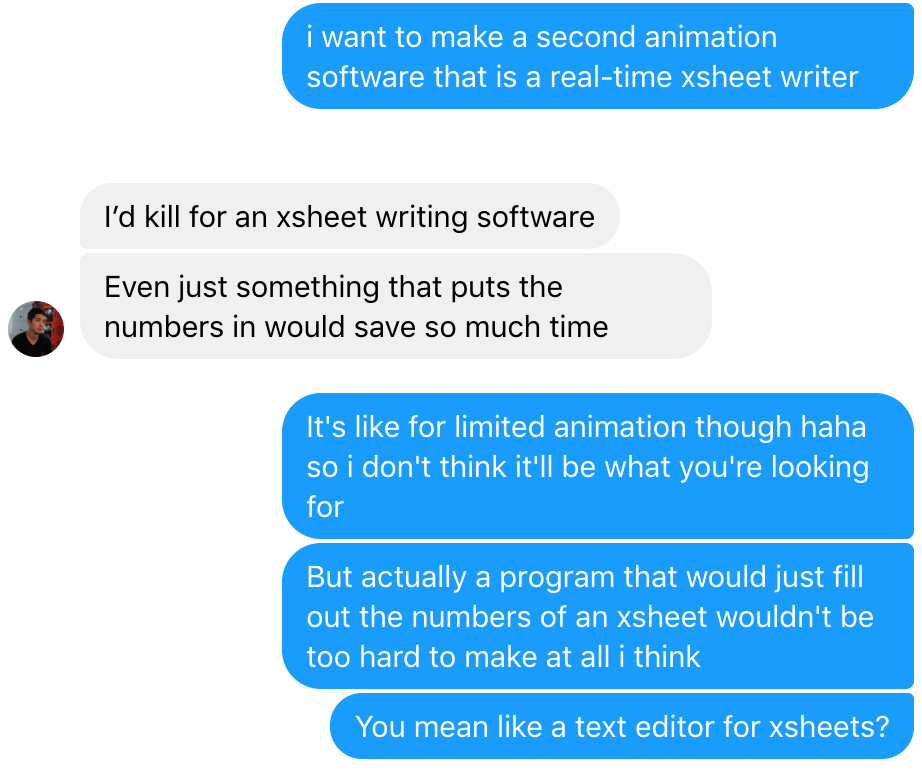
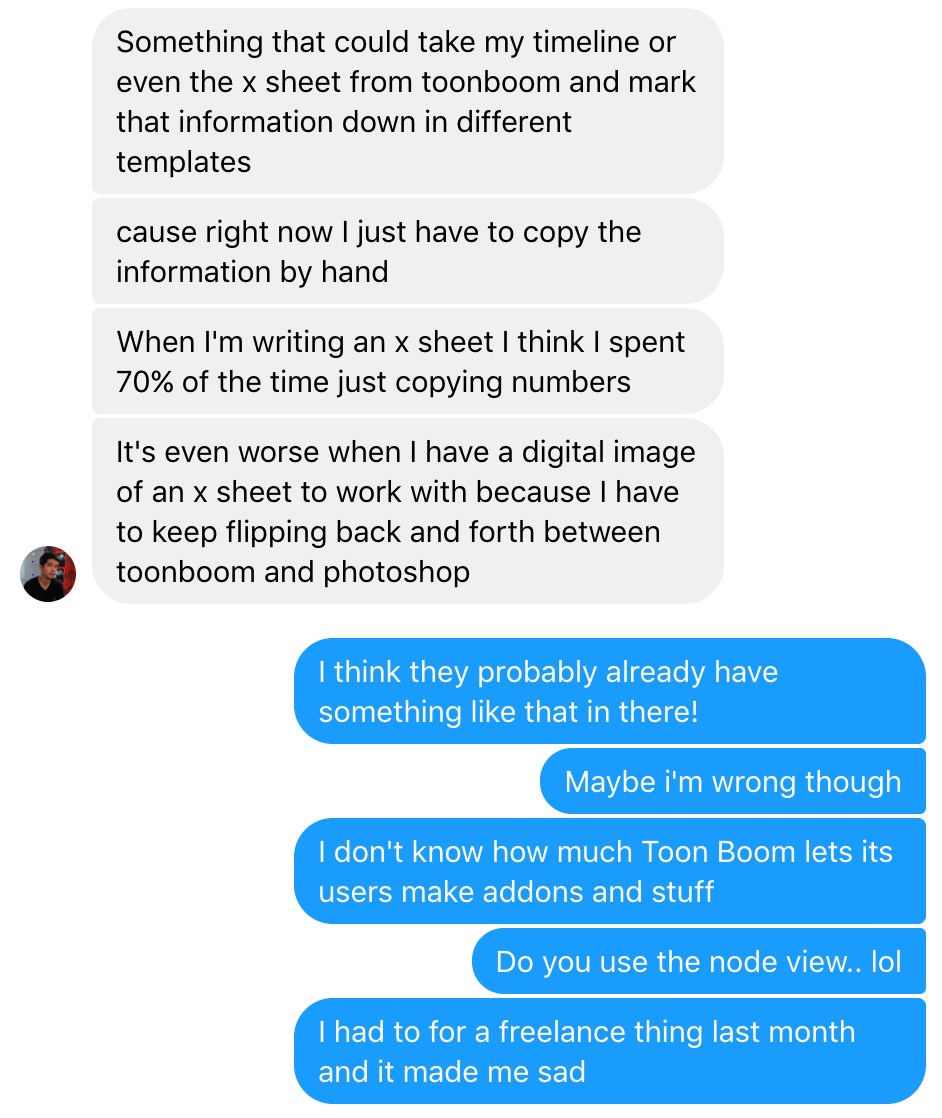
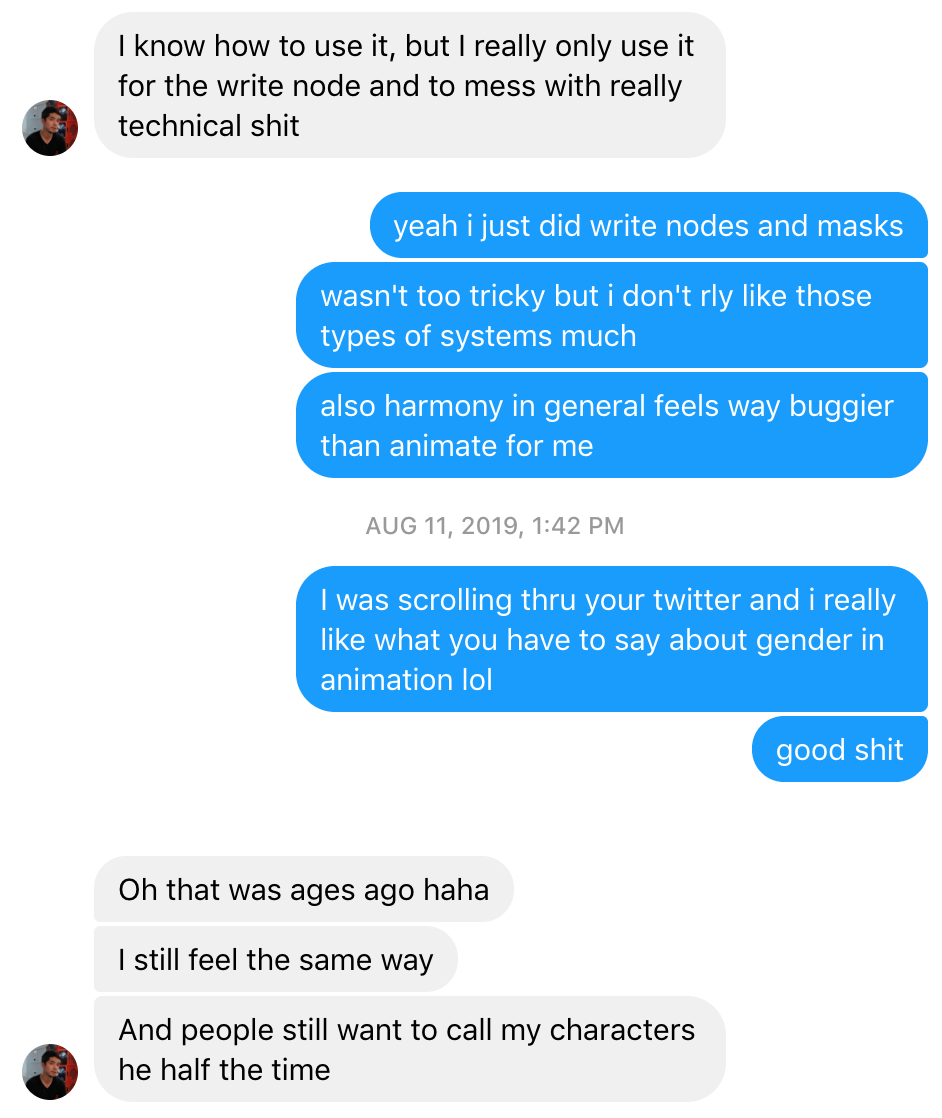
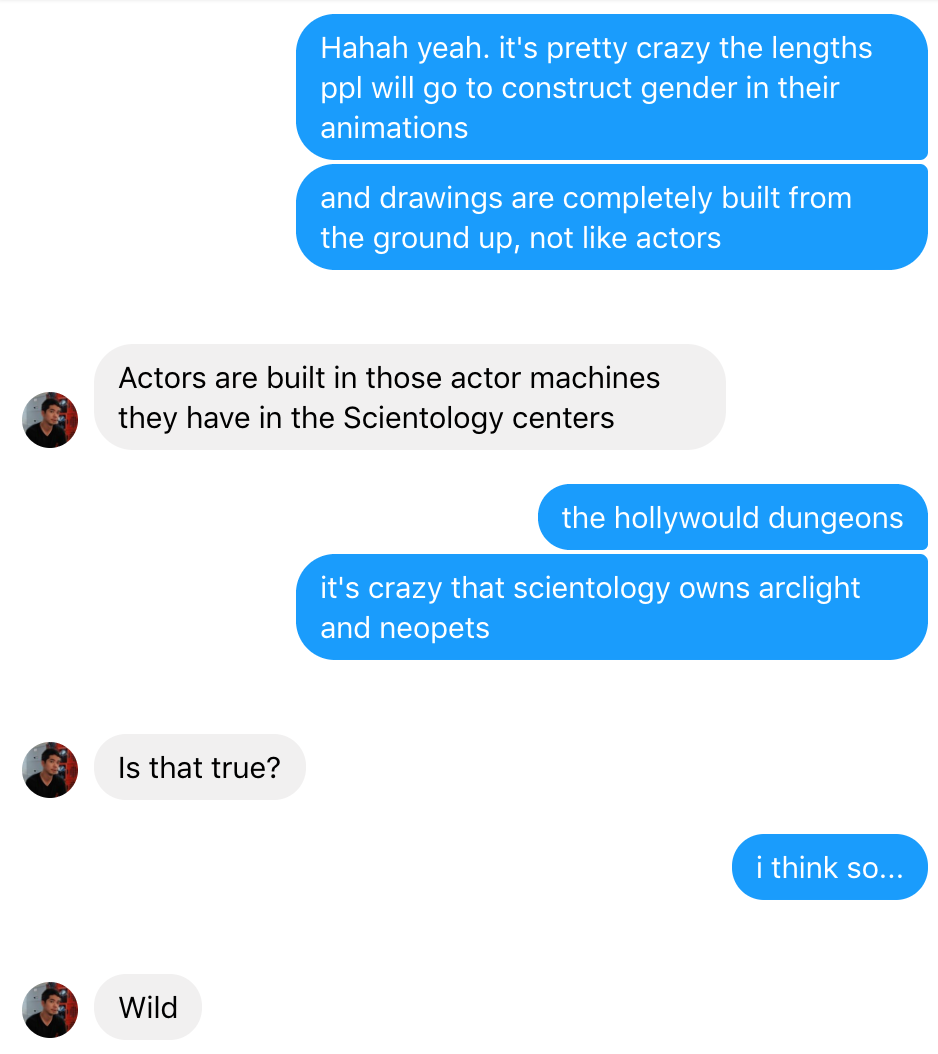
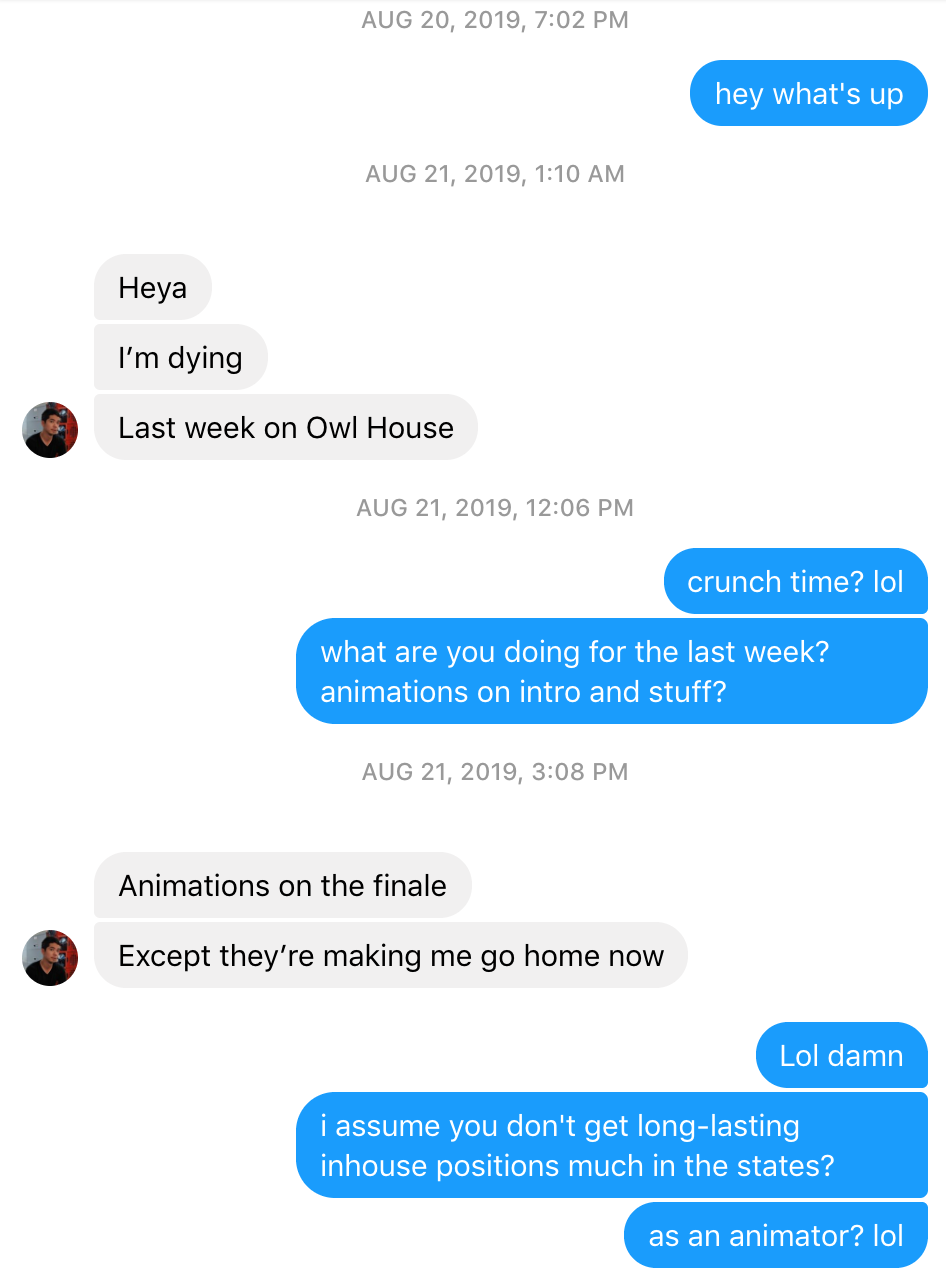
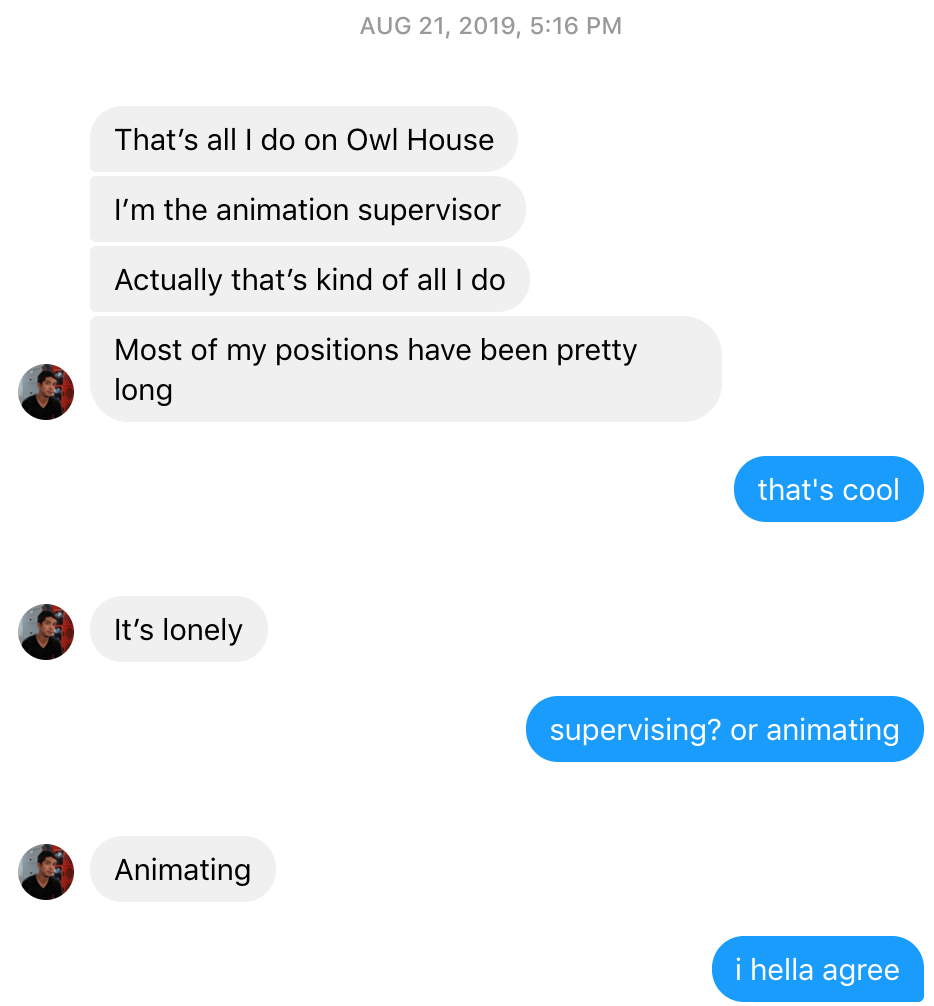
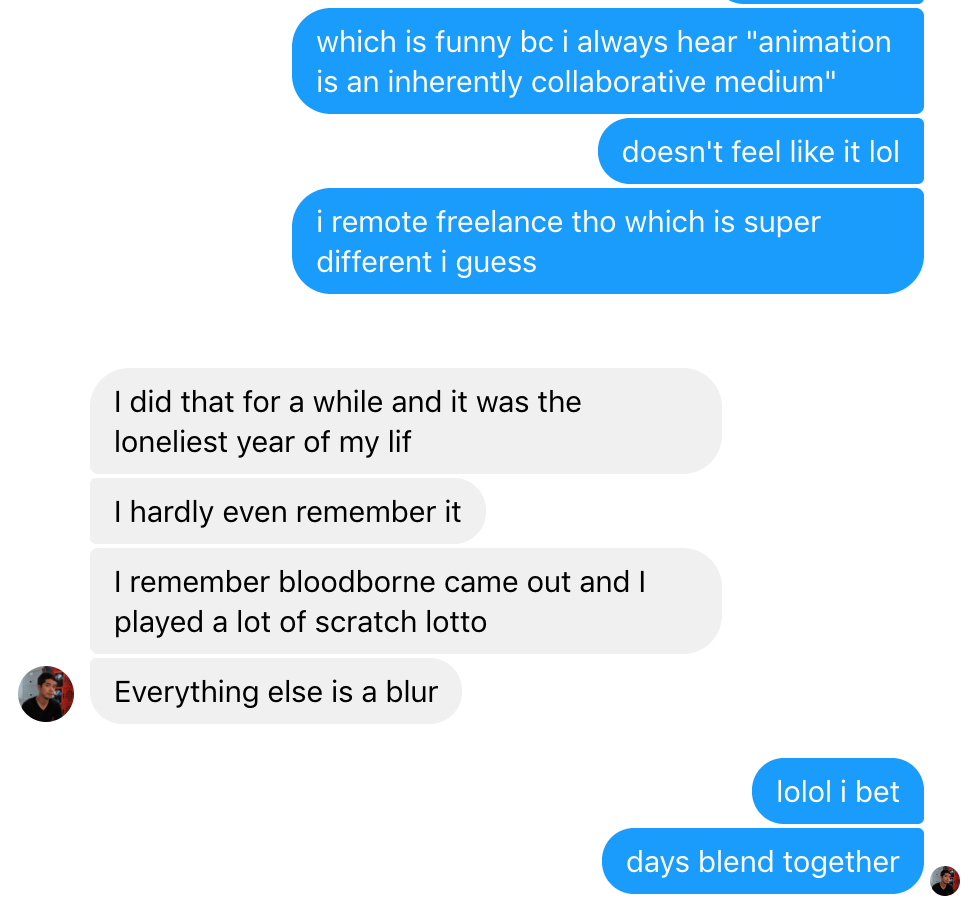
Spencer Wan, animation director and creator of Studio Grackle, generously took time out of his day to answer some questions about his work. Spencer directed animation for Castlevania and Owl House. Thanks to my bud Zach Marcus for introducing us. You're gonna want to read aalll the way to the end. :)

Ingo Raschka 2019
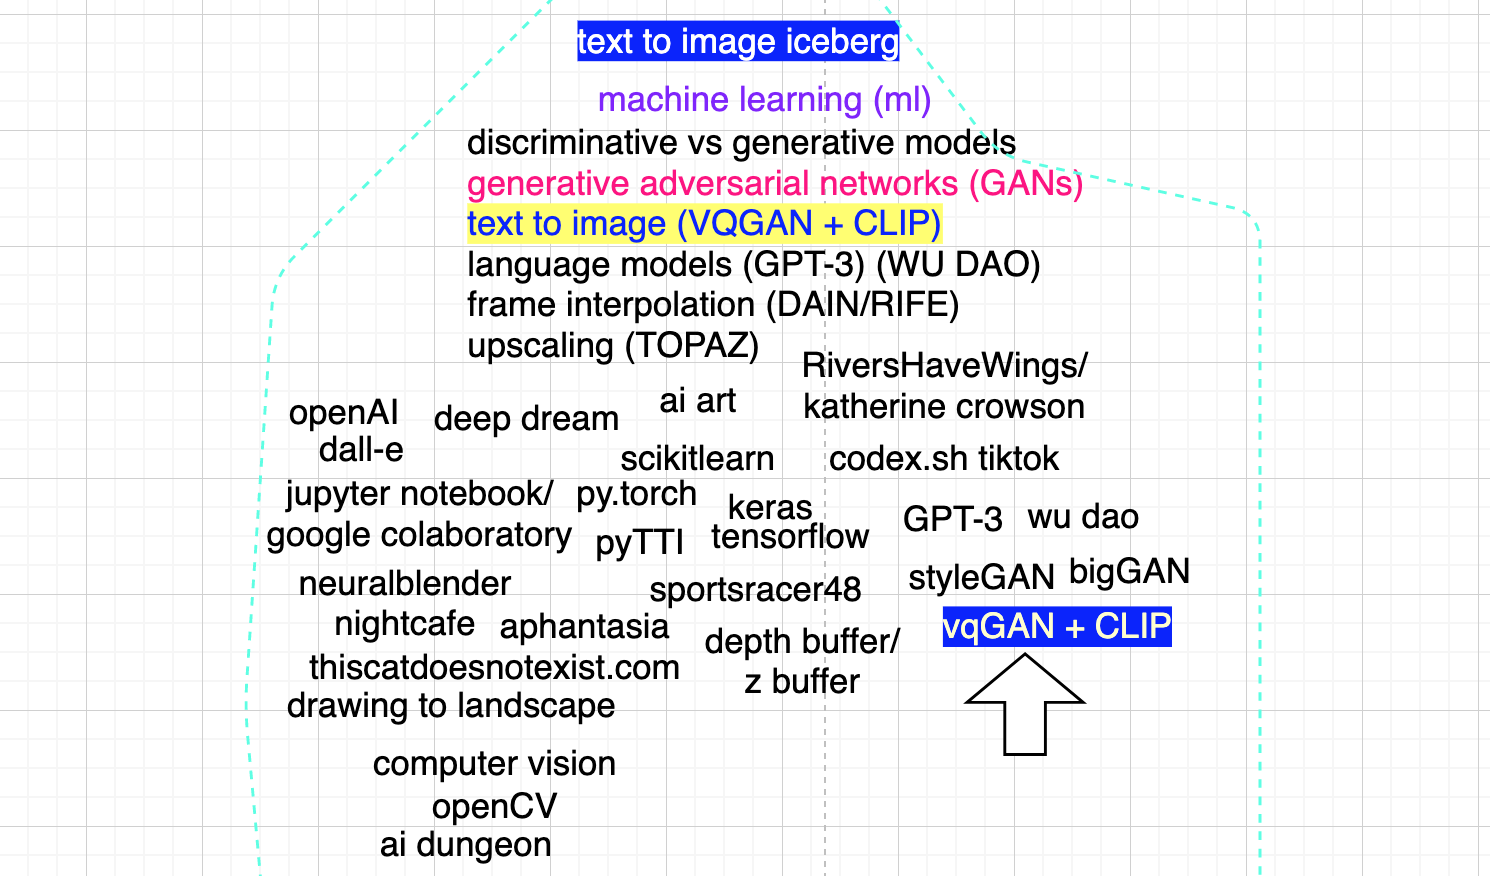
Text-to-image GANs are computer programs that generate images and video from text input with machine learning. it's part of a type of art called generative art or ai art. here's a list of links. You don't have to draw or code or even imagine anything to use them. Just type a description of the image you want to see and click "runtime->run all."
text to image:
List of VQgan+CLIP implementations
Aphantasia
ruDALLE
text to video:
pyTTI by sportsracer48
illustrip
upscaling and frame interpolation:
RIFE
how to use it:
Way of the TTI artist
how it works:
The Illustrated VQGAN
people to check out:
katherine crowson (!!)
sportsracer48
nsheppard1
adverb
somnai
two minute papers
more:
EleutherAI
the links ive posted here are the best ones i've found. I excluded nightcafe and neuralblender because colaboratory runs on remote gpus which are most likely way faster than your computer and also free. :)
a podcast episode about how machine learning research uses exploited labor: The Fabulous Mechanical Turk ft. Phil Jones by trashfuture
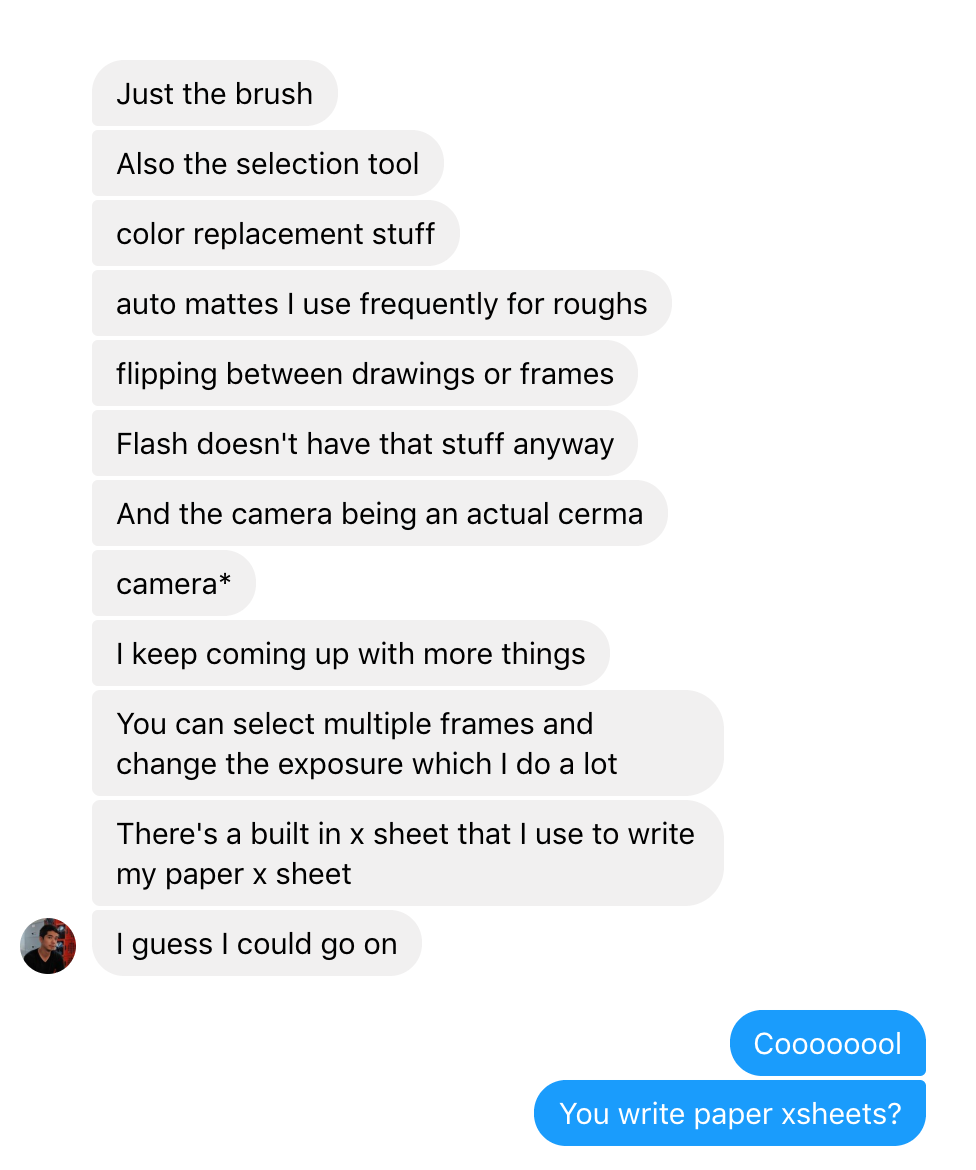
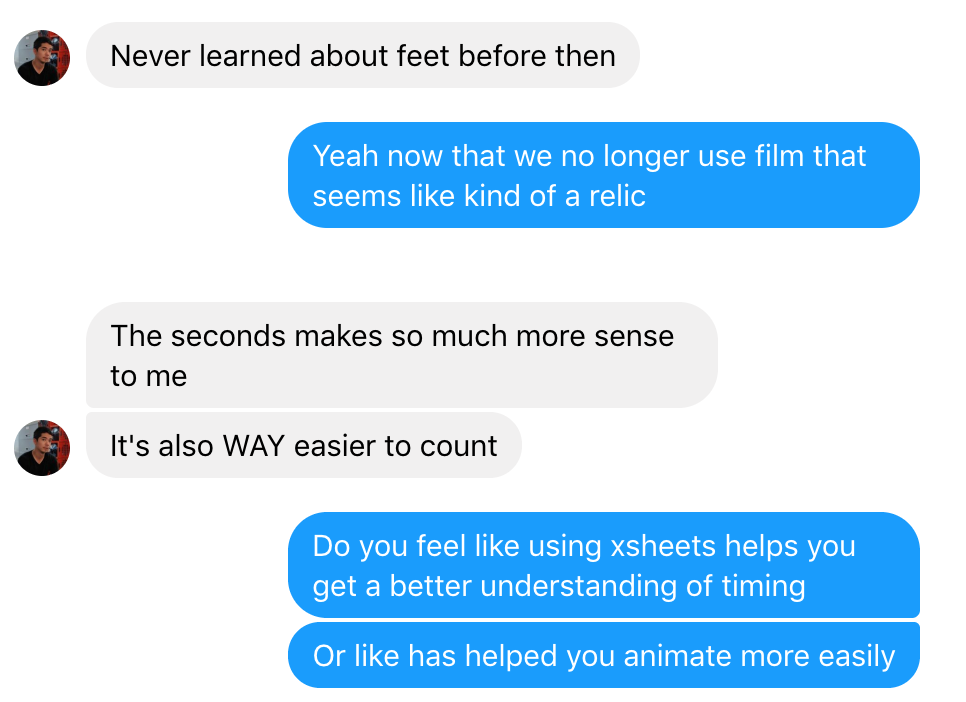
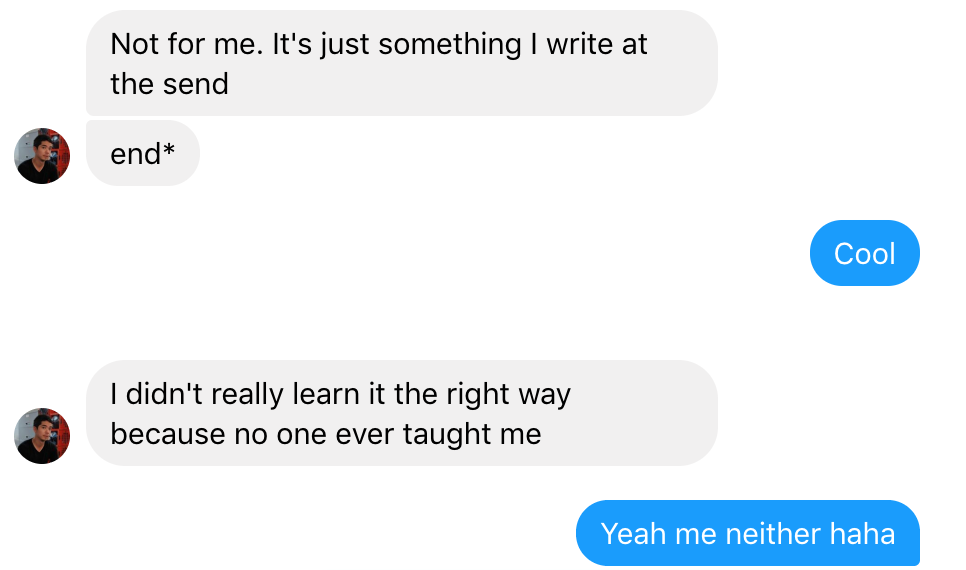
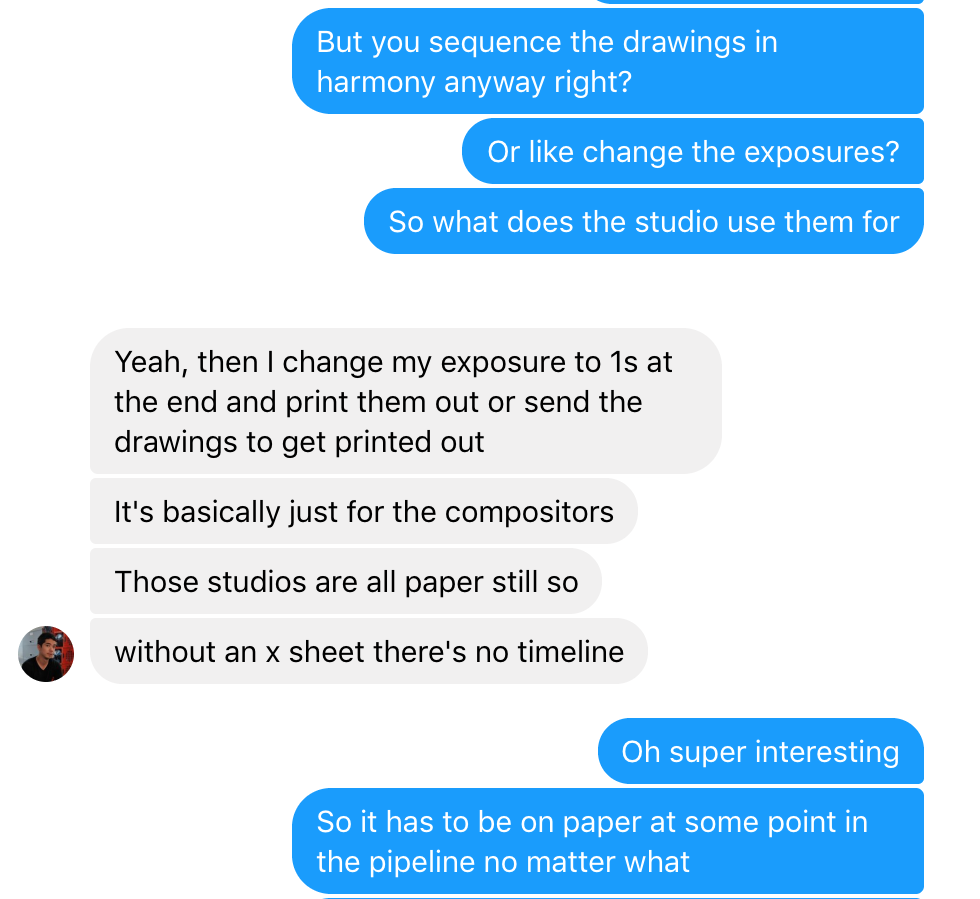
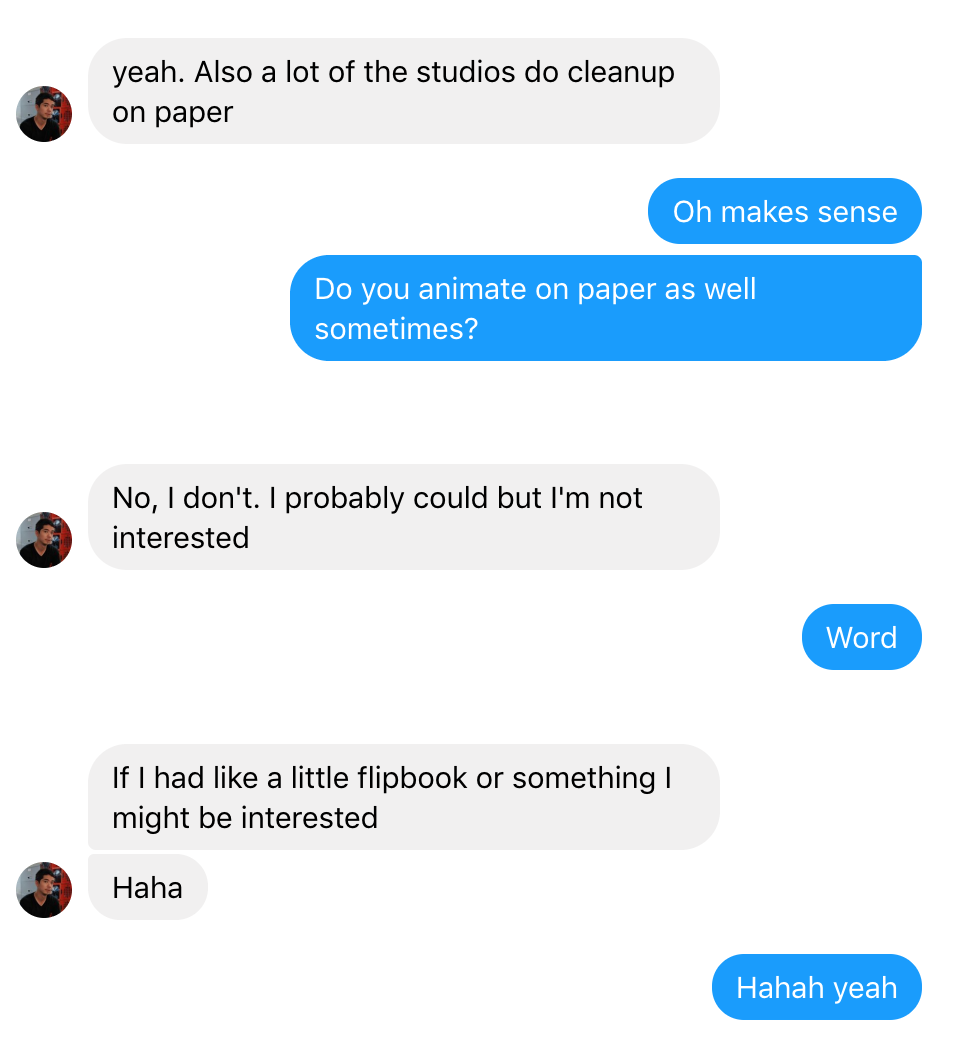
This is the first of a series of posts about xsheets, or exposure sheets, and the role they play in animation.
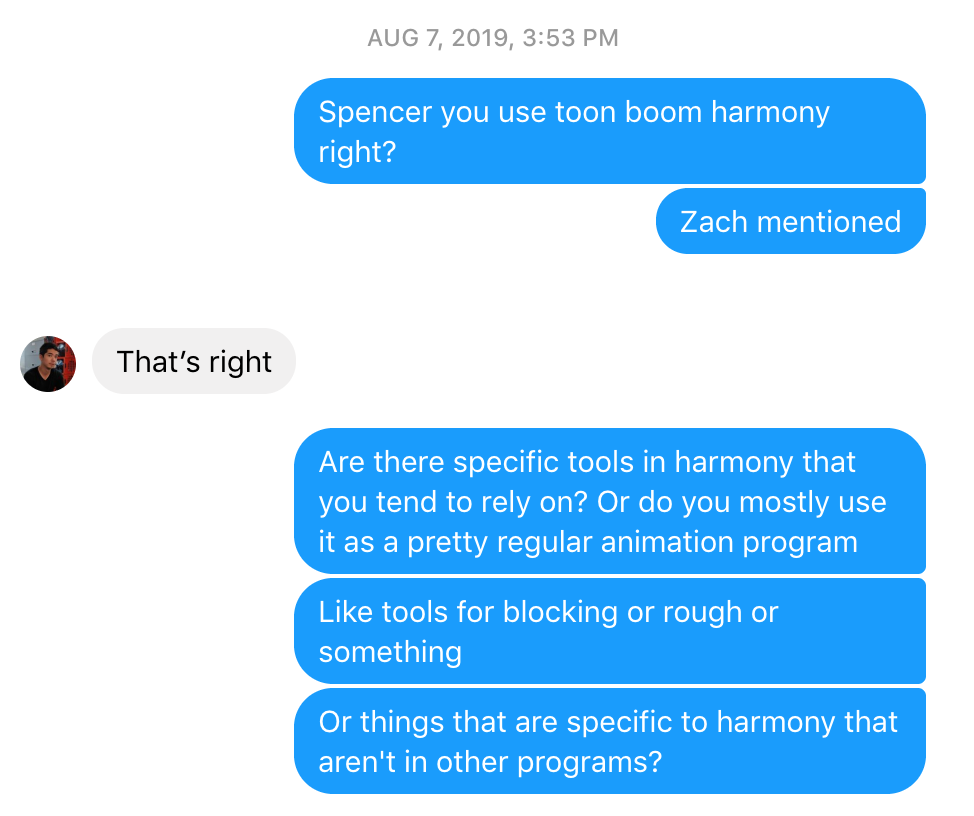
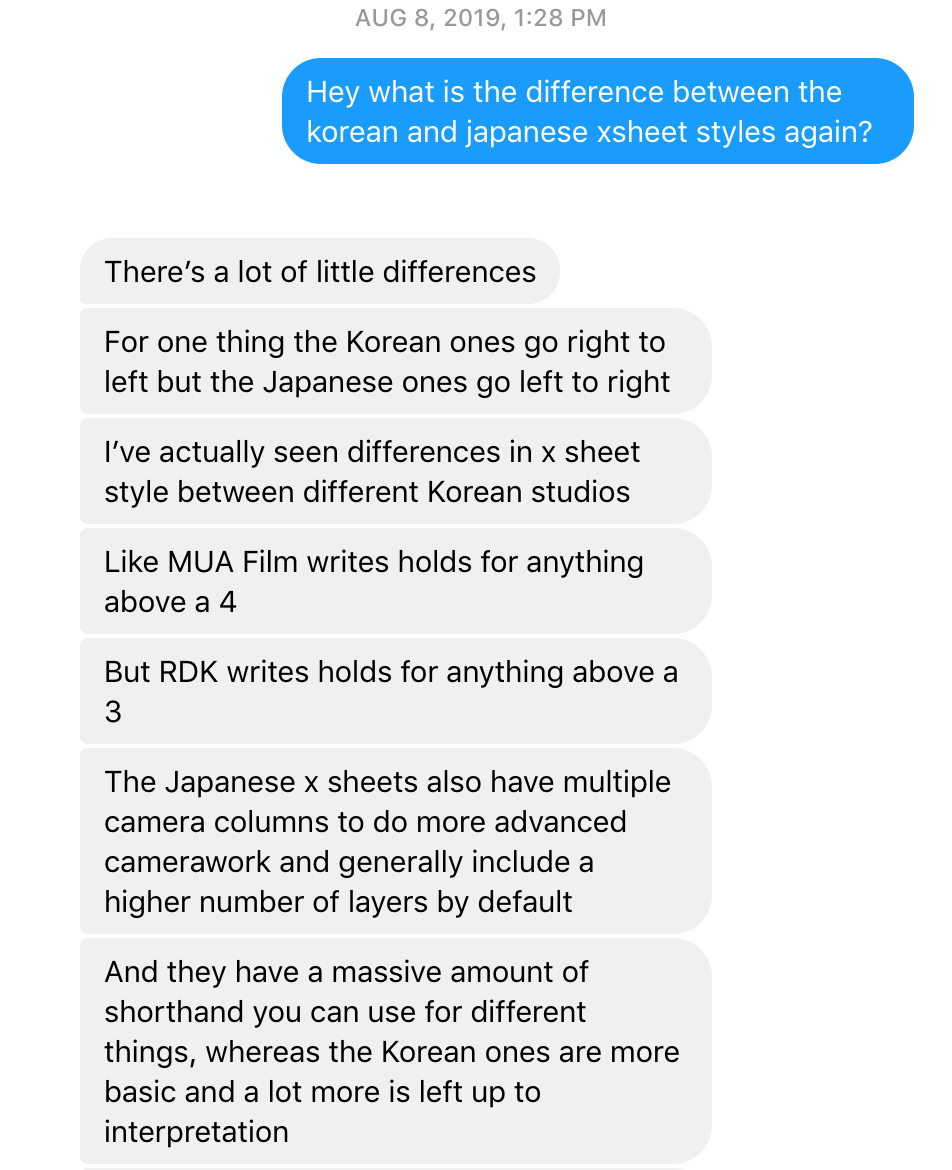
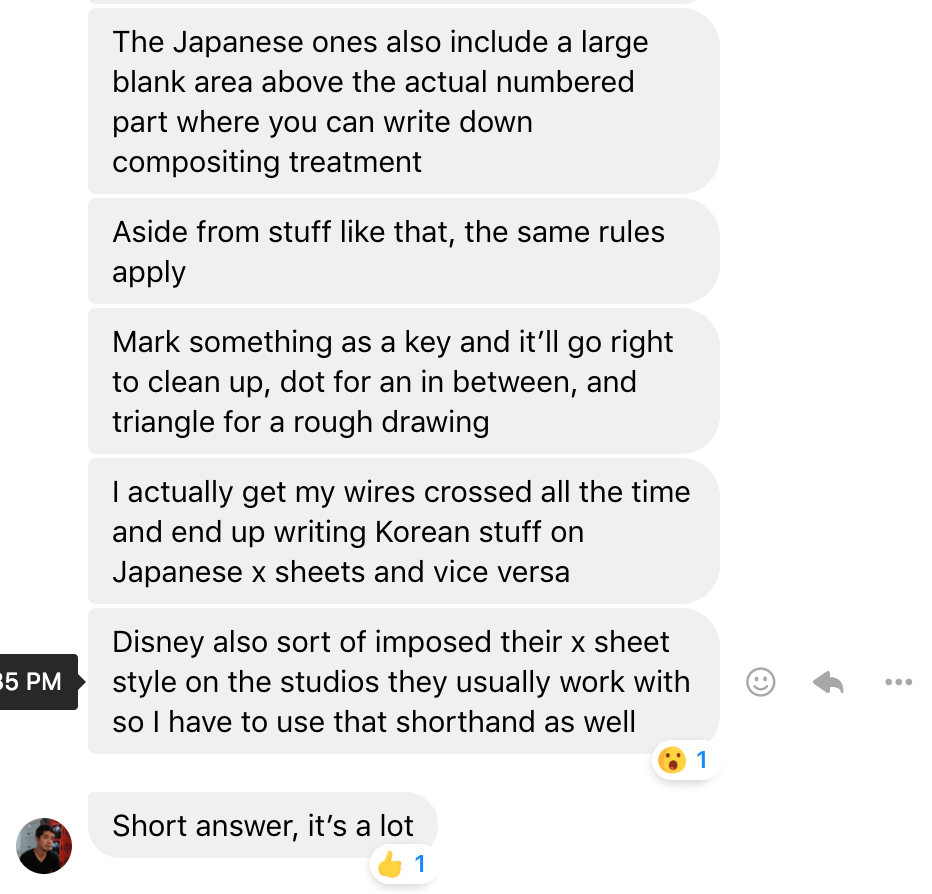
In the series, i will tell you what xsheets are, what they're used for, what parts of the process they affect, and how to make your own. (spoiler alert– xsheets are just timelines). Later i will discuss how xsheets relate to the rest of the process, and how xsheets can be used creatively as an interface to compose animation like a musical score. Part 2 will feature a discussion with Castlevania animation director Spencer Wan.
part 1:
'HOW TO MAKE ANIMATIONS IN QUICKTIME PLAYER
In the years following the birth of the film camera, there was a type of movie called the "Trickfilm." Trickfilm (now also the German word for cartoon) refers to a genre of silent film using a simple type of special effect involving a cut. Georges Melies is credited with starting the genre, which had a brief lifespan of about a decade at the turn of the 20th century.
Although animation preceded the invention of live action film, modern animation takes most of its concepts from the film strip and camera. Trickfilm process, although it's associated with live action process and the birth of the cut, seems to me an overlooked process in the field of animation. But what even is a trickfilm?
Trickfilm refers to the style of filmmaking Melies and others were practicing at the time, which was basically to make as many interesting effects as was possible with the cameras of the time and build some kind of story around it. Since doing a trickfilm today would be practically impossible given the sheer amount of special effects possible today, we can define a trickfilm based on the effects which the directors of the time were using.
One of the most common effects was a type of cut known as the substitution splice: cutting the film on the same background but changing the elements in the scene created an effect of things appearing, disappearing, changing, or replacing.
Melies dips into the horror genre.
Another technique was the double exposure: by keeping a section of the frame dark, that section on the film could then be 'overwritten' by filming new footage on top of it. In the above example, the head was shot on the same film afterwards against a black background, so as not to spoil any parts of the film which had already been exposed. This was the earliest form of what we now know as "compositing," or merging two images together.
In Melies' The Man with the Rubber Head, the large head is both substitution spliced with a puff of smoke, and double exposed against the background.
Let's examine the fundamental difference between live action process and cartoon animation process in order to understand why this process is underused in animation.
Live action film is made by taking a large quantity of video and cutting most of it away to make something small. The length of total footage shot compared to the length of the final film is known as the shooting ratio of the film. Because live action film takes exactly as long to shoot as it does to watch (ignoring preproduction, setup, pressing play on the camera etc.) it is easy for the shooting ratio to be very disproportionate. Many big-budget films have ratios in the hundreds to one.
Animation is the inverse, it builds a film up from its most granular parts– still frames. Although still frames can be extended to any length, they are usually thought of as the building blocks of footage, rather than things which can be used as footage on their own. Animation is made by handmaking full (or partial) still frames and piling those frames up into a stack which can then be sequenced as moving footage.
Since trickfilm––and specifically the trickfilm method of the substitution splice––is made by cutting down moving footage, we can see why it might seem impossible to make an animated trickfilm. But if we think of a still frame as footage itself, we can notice that the trickfilm is actually the basis of animation, not exclusive of it. Animation is the pure form of trickfilm, and merely uses the substitution splice in a higher time density than live-action. By time density i mean how often the splice is used. If animation means still images getting replaced at a changing rate that hovers around 8 to 24 frames per second, then we can think of animation as a series of substitution splices that creates a persistent "trick."
This is a one-frame animation i made which lasts for 4 seconds.
So by thinking of a still frame as a piece of footage with a potentially infinite length, we can lower our time-density of substitution splices to allow animation back into the realm of trickfilm. But first i'd like to point out that as you read this blog, you are currently using a literal animation machine, which uses animation for just about everything and is literally designed for the purpose of displaying animation.
History lesson's over, now let's make a trickfilm. We're going to use the application "Quicktime Player" which you can download for free, any paint program, and a photo app.
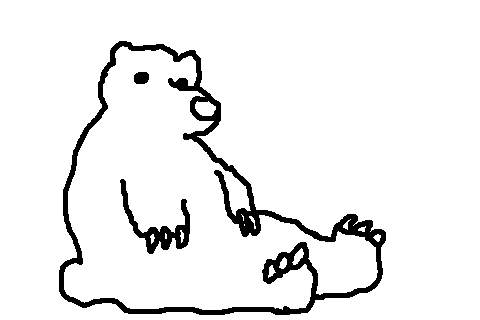
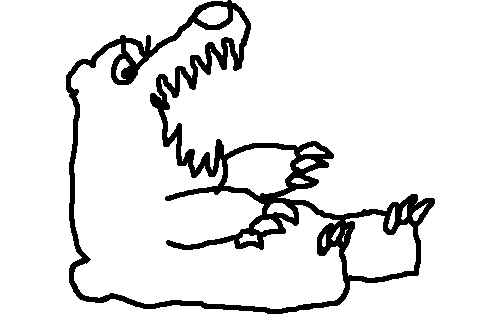
Draw any two drawings in the paint program and export them as jpgs, pngs, or any type of file you want. Jpgs will work best because they are the smallest, so they will animate the fastest. The important thing is that you name the files so that they will appear next to each other in a folder– for example, "bear1.jpg" and "bear2.jpg."
When you open these up in your photo app (or if you are using a macbook you can press the spacebar to use Quick Look), you should be able to use the arrow keys to flip back and forth between the images. Now open Quicktime Player. Under the "file" tab, you can create a new screen recording. By doing this, you can record yourself flipping the images, creating an animation.

From here, you can do a number of interesting things. You can animate a full sequence by tabbing through a list of images at a varying rate, you can flip between two full videos while they play and screen record that in a sort of live-editing style, you can layer two images on top of one another creating a fake "double exposure." Really, you can do pretty much anything, including screen recording the interface of whatever animation program you are already using.
I wanted to make this blog post because one of the big barriers when I was first getting into animation was software, and that barrier only increases when you start to get more involved with animation. It's helpful to have a reminder that these things called computers are actually just big complicated cartoon machines, and almost everything you need is right here.
Pretty much any type of software you need for animation and image processing is available through an internet browser: ezgif.com is great if you want to quickly turn your screen recordings into animated gifs, drawpile is fun for drawing with a friend, piskel is a free browser sprite maker, etc. There is even Vectr for vector editing and Sketchup for 3D modeling, and all of that is just in the browser. I used Paintbrush for the gifs above. For more intensive work you can find tons of free available software to download– I would recommend Blender, which is now a fully competitive 3D modelling software, and now has quality 2D animation capabilities as well. These are all pretty cool and if you have access to a computer and web browser you can do way more than you think!
Ingo Raschka 2019
The official Josh Cloud Cel Animation Guide is here! Made in collaboration with cartoon makers across time, transgressing borders, platform, and sequence, this guide has and will educate future cel animators until we are all once again dino petroleum. READ IT, PRINT IT OUT, READ IT AGAIN, WRITE IT.
Ingo Raschka 2019
Last month, I wrote a web browser program called Ten. Ten is an animation program. Here's how to use it.
Ten is a ten frame animation program. By pressing each of the number keys, you can access one of ten frames to draw in. Space pauses or plays the frames. The number in the corner of the screen will tell you what frame you are drawing into.
You can also draw into the frames while they are playing. You can get different effects this way. By drawing very slowly, you can get a kind of moving brushstroke.
This mimics a feature in the animation software program TVPaint called stroke recorder, which does the exact same thing- lets you draw while the frames play, creating a moving particle effect, as well as many other types of interesting animation.
What's unique about my software derives from its only having ten frames.
Since each frame corresponds to a number key, if you pause the animation you can "play" the animation live by pressing the number keys in real time. What this allows you to do is mess around not only with the timing of the animation, but also with the order of the frames. Often when animating I will find that by rearranging frames, i can find types of motion that i didn't originally intend. This type of "live play" is a direct way of finding those alternative arrangements.
The only thing this is missing is a timeline, or a function to actually record and export your animation. For this, I use Quicktime Player, an application which comes packaged on pretty much every computer. If it's not on your computer, you can download it for free.
To save or record a live-played video, open Quicktime Player and select File -> New Screen Recording. Then drag a box around the Ten window, click on your browser, and start playing your animation. When you want to stop recording, go back to Quicktime Player and press escape, or simply quit the program and Quicktime will prompt you to save.
Then send me your animations and tell me what you think!
Ten was written in P5.js, an implementation of Processing for javascript written by Lauren McCarthy. Processing is a programming language (or more specifically, a Java library) that makes it very easy to program "drawings," making it ideal for artists, and anyone who wants to make visual programs (and animators). Javascript (which in reality has nothing to do with Java) is an interpreted scripting language which is supported by virtually all web browsers today. It's the programming language of the web- which means p5 applications run on any webpage, making the software both easier to distribute and easier to use.
If you are interested in learning Processing or P5 (i recommend p5, since it is easier to get started and distribute) the YouTube channel "The Coding Train" hosted by Dan Shiffman is an excellent place to get started. If you want to learn javascript first, the free book series You Don't Know JS is how I've been learning- it's very clear, thorough and somewhat beginner-friendly.
If you'd like to download the source code for Ten to mess with it, click Here.
If you'd prefer to use the pink version of Ten, click Here.
Ingo Raschka 2019
In "Making an Anime Road" i talk about how animators developed techniques to use flat cels to "fake" three dimensions in order to save labor and time. This post is about another one of those techniques - a way to simulate a camera rotating around a point, using only 3 drawings.
Berserk ep 2. "Band of the Hawk," 1997.
Normally when you want to animate a camera moving around something, you use a combination of a pan and an animation technique called a "Turnaround" where you basically draw a character (or whatever you're turning) from as many angles as possible, as if the camera is rotating around it.

This requires a lot of drawings and careful perspective (or bullshitting). It also takes a lot of time. Turnarounds are often used as an exercise to get better at animation. Here's one i did for a class assignment in college.
Also, the views don't have to be evenly spaced- in a movie, sometimes animators have to draw a character from crazy angles to get what the director wants.
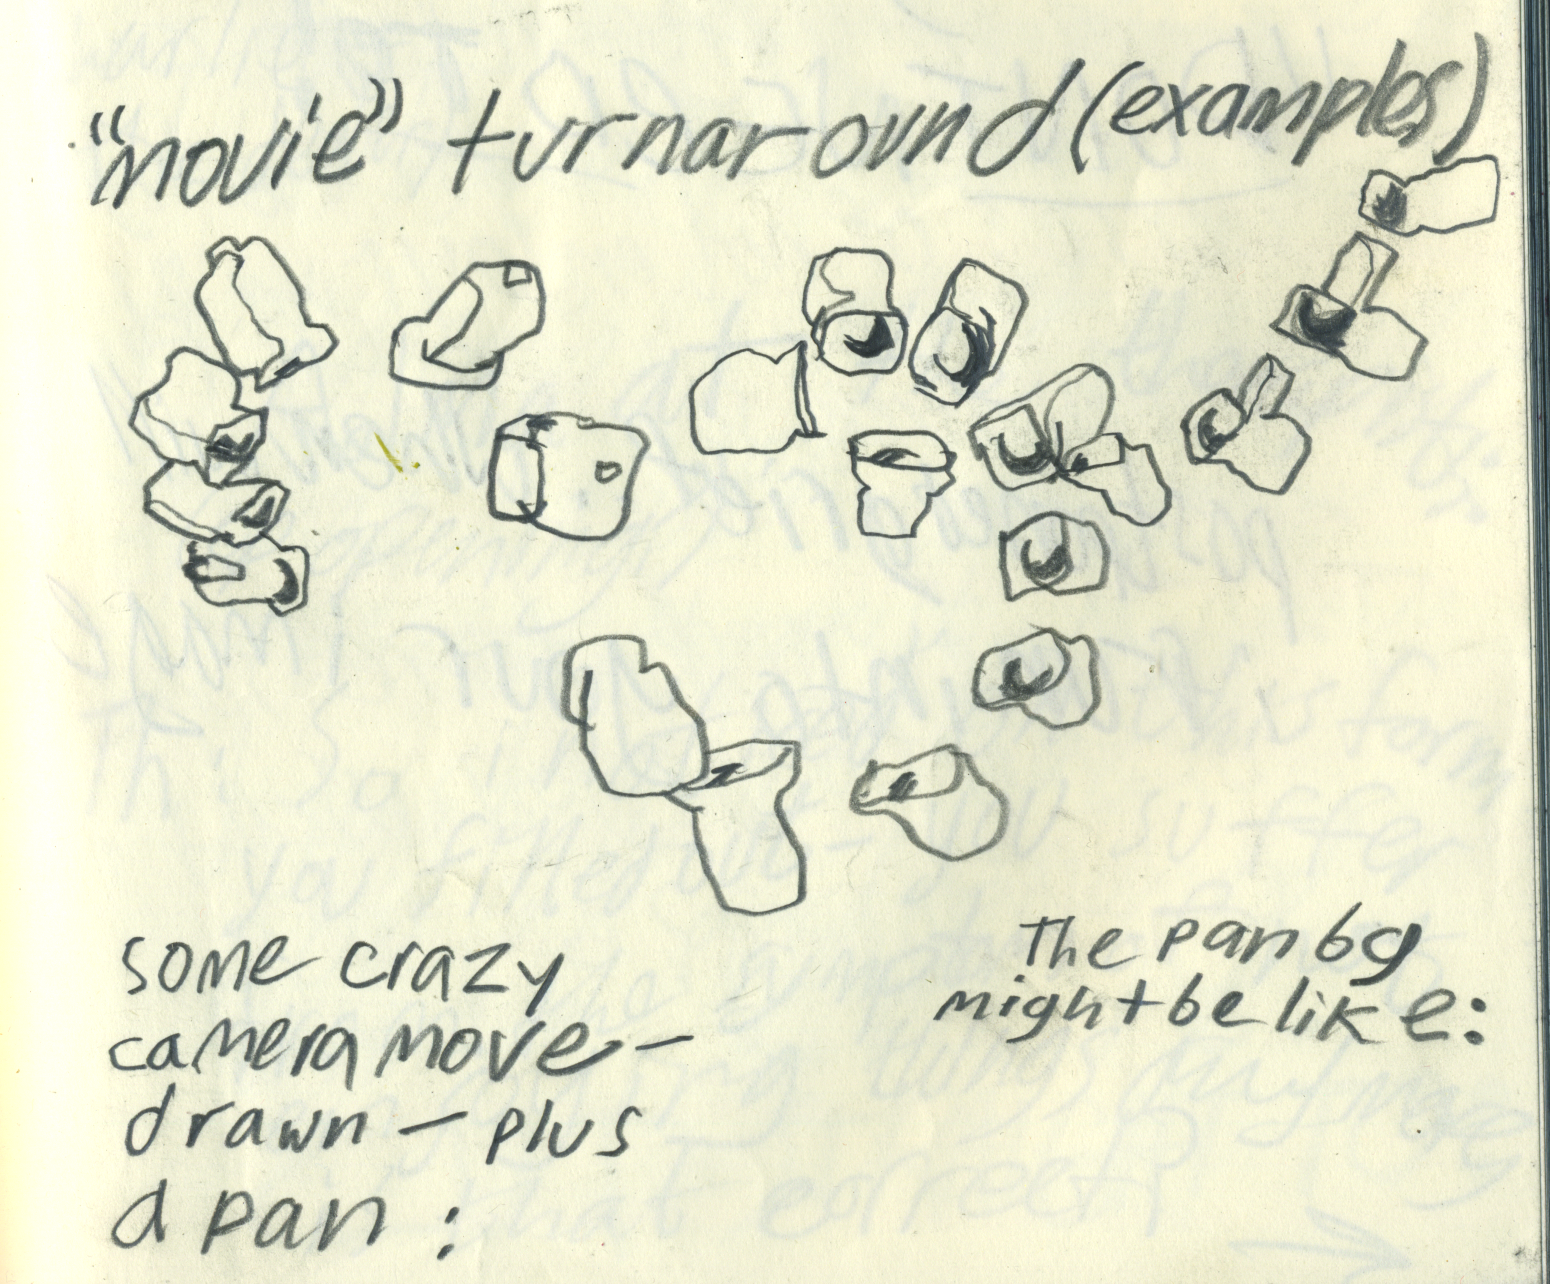
Combine a turnaround with a background pan, and you get a lovely turnaround effect. Here's an example from Ocean Waves.
Ocean Waves, 1993.
The problem is- turnarounds like these take a lot of time and they aren't always what you need. Luckily though, animators developed a clever alternative technique which i've seen used in tons of different films, television shows and anime.
This technique is very simple. You have a foreground, a background, and a third layer: a character- or object- something for the camera to "look at." The foreground layer and the background layer both move, but in opposite directions. The pivot point is your fixed layer- the one in the middle. It can move slightly, but has to be mostly still if you want the camera to feel like it's moving around it. The oppositional movement of the foreground and background make it feel like you're circling the thing in the center.
If the top layer tracks faster than the bottom layer, it means that the camera is farther away from what it's pointing at (the pivot point). If the bottom layer is faster, that means the pivot point feels like it's right in front of the camera.
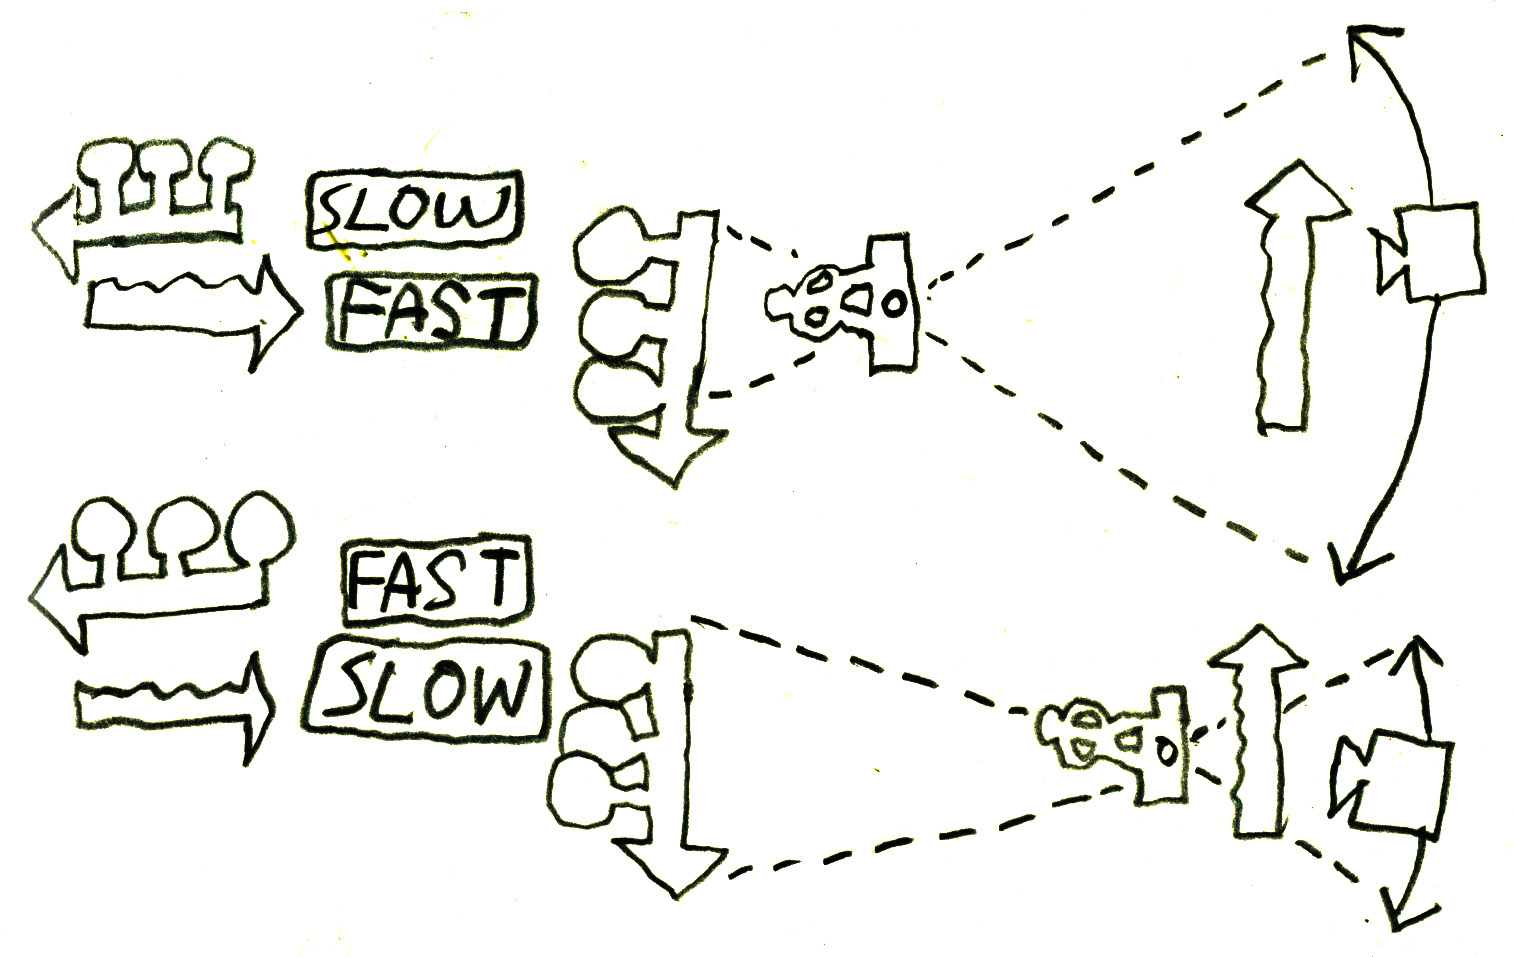
This will also depend on how close or far your forward layer appears to be to the camera. This will largely be up to you and how you draw each layer.
"Serial Experiments Lain," 1998.
You'll notice that in the example above, the focal point and pivot point are not the same. In this shot, the boy and the TV are the focal point- but they are both on the foreground layer. This shot, at first glance very complex, actually uses fewer layers than the Berserk example- only two panning layers, and all the animated elements are glued to a panning layer. What this means is that the pivot point doesn't have its own layer (like it does in the Berserk example, with Guts (the main character) at the center of the pan). The pivot point is implied through the motion of the foreground and background layers. The point the camera is "circling" around is actually inbetween the two layers (the kitchen and living room)- right behind the right side of the doorframe. Watch that spot as the gif plays- you'll see that even though it is on a panning layer, it's the most stationary part of the frame.
Another interesting thing about this shot is that the layers don't just move left and right- the top layer is actually zooming closer to the camera as it pans. This is how the doorframe can appear to stay still even as its layer pans. What this achieves is an additional layer of motion - it feels like the camera is spiraling in towards the central point as it turns.
Now, let's make our own!
I'm basing mine off the Berserk example because it's the most common usage of that type of shot and it's simple. I drew these assets in my sketchbook, scanned them, and then separated them from the background in photoshop.
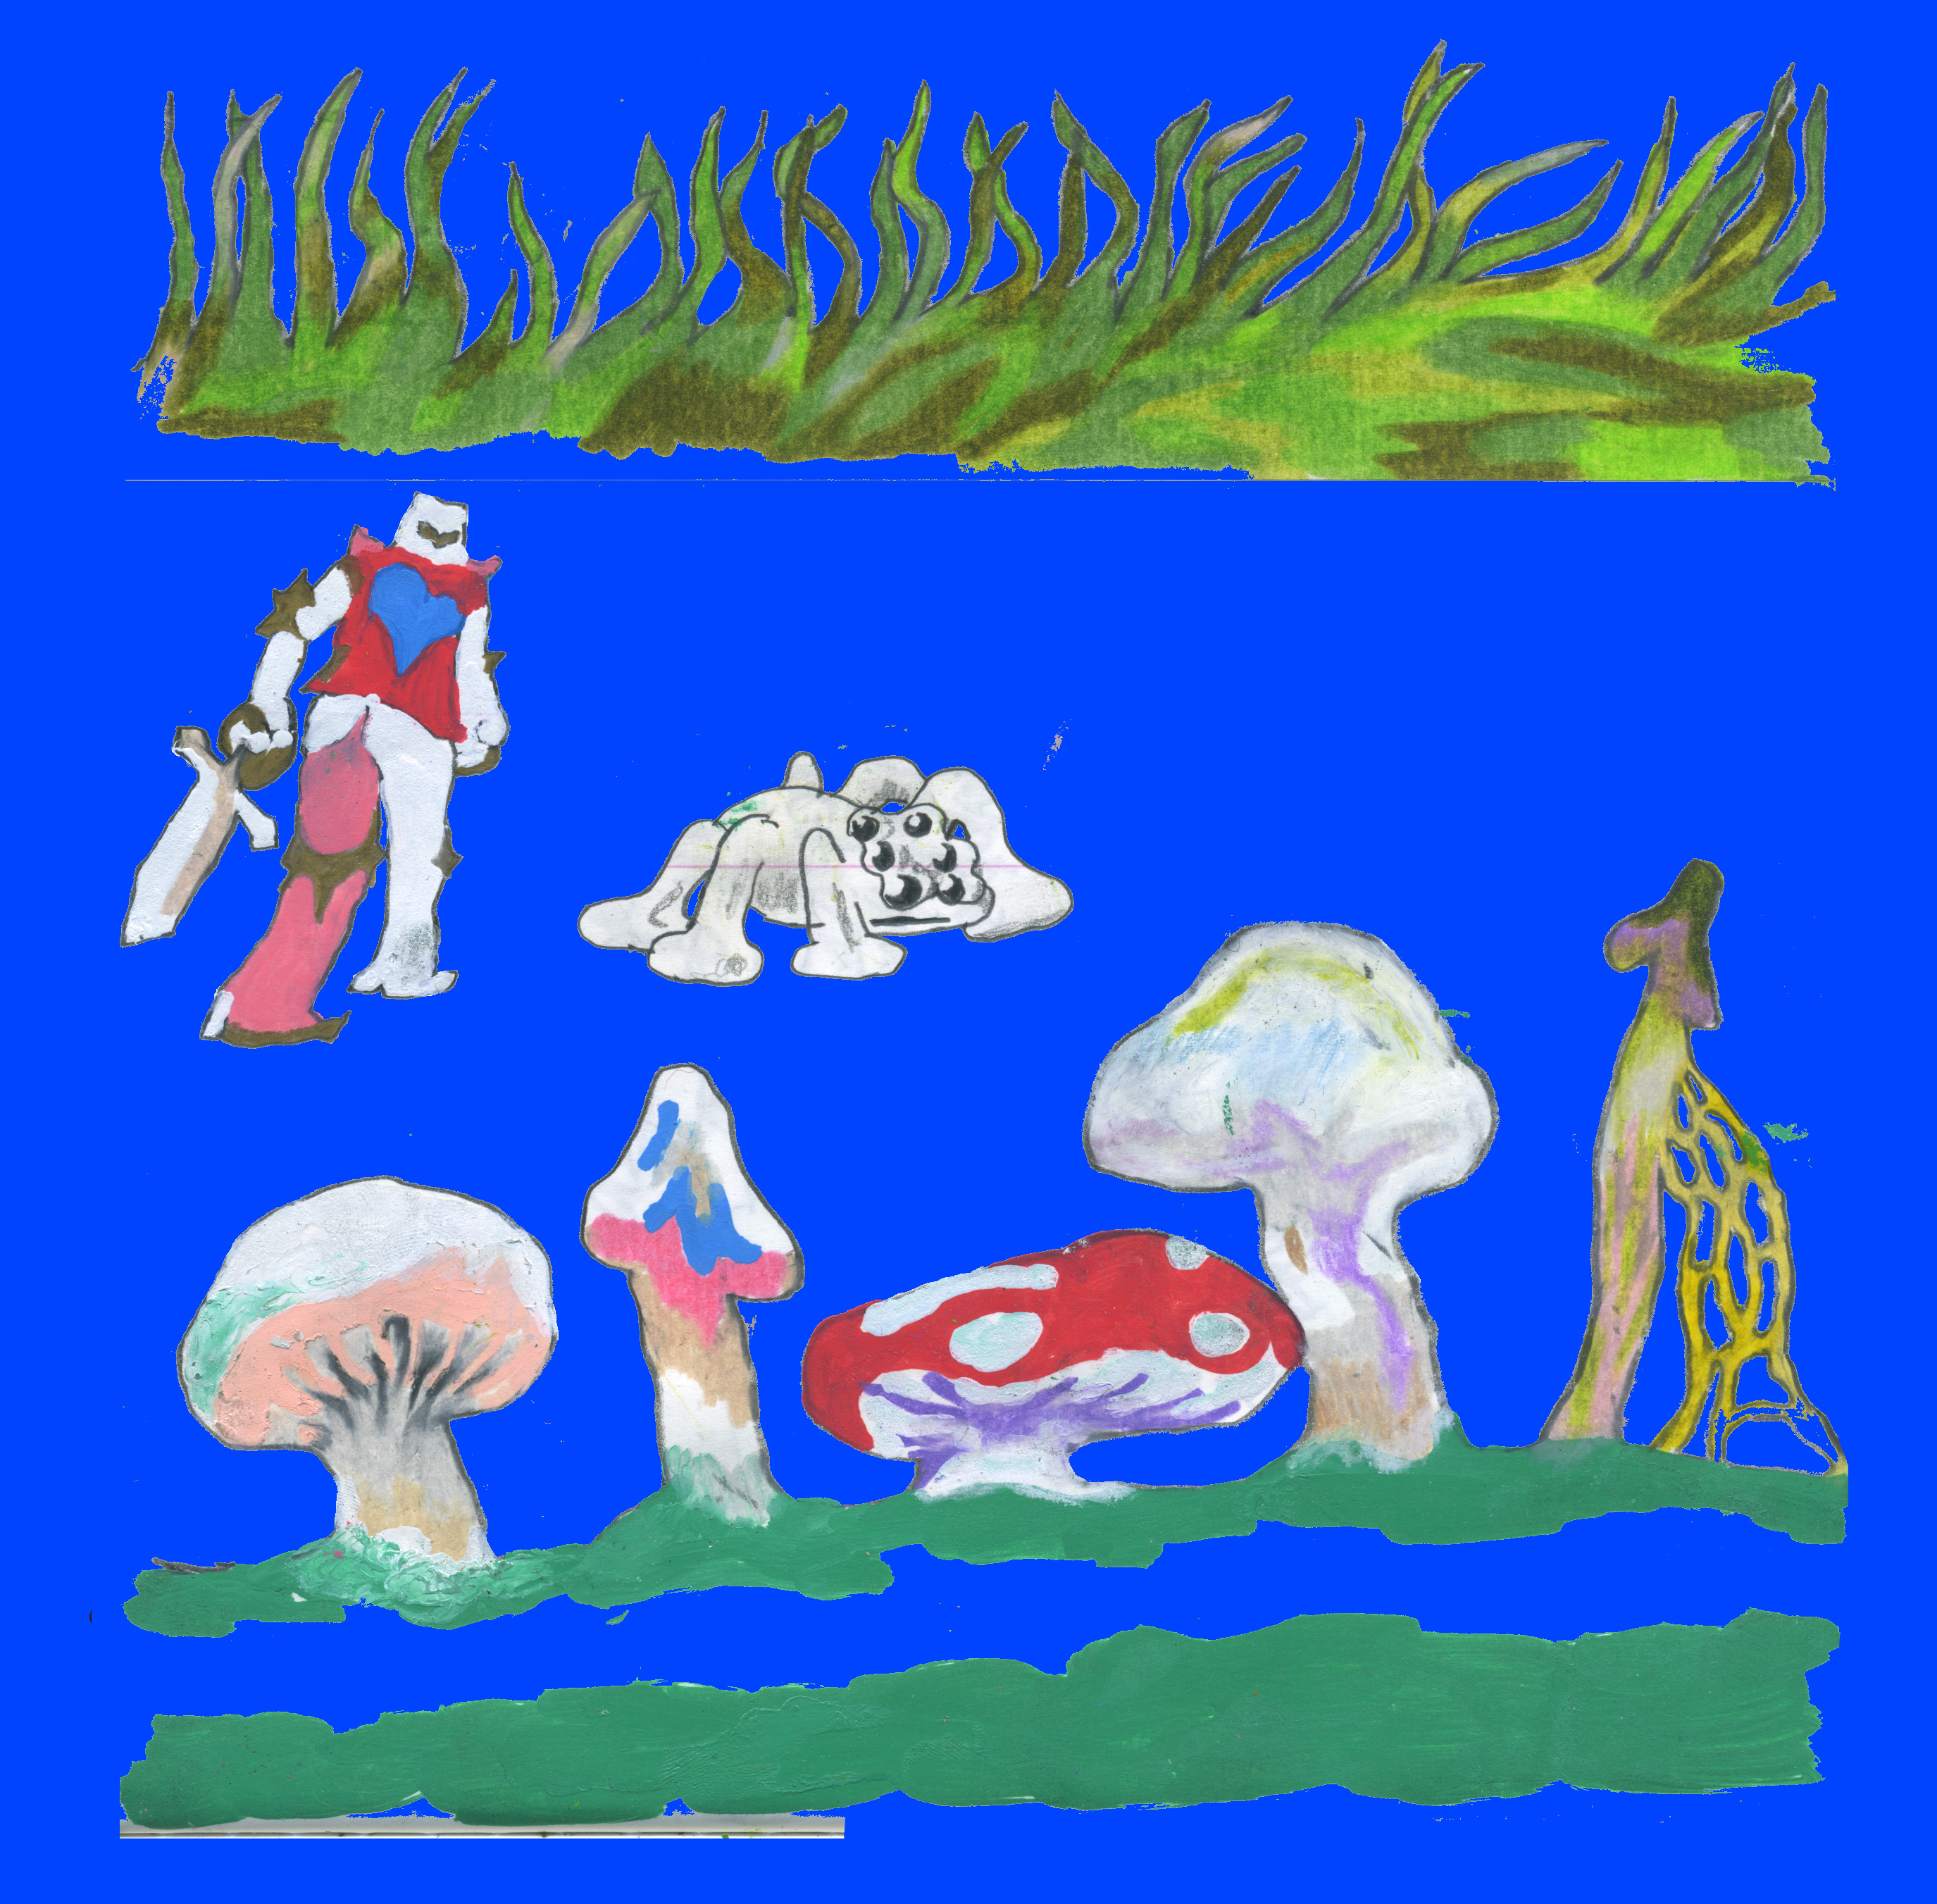
I skewed the pans a little bit so the layers pan down as they move across the screen. This makes it feel like the camera is lowering into the grass as it rotates (i hope).
Add a couple more shots, and this might be a film. What is the knight looking at? An enemy in the grass?
As always, if you haven't used this technique before i encourage you to try it out and see what you can do with it! Thanks for reading!
Ingo Raschka 2019
When researching animated pans I asked my friend Brian Kim for some references. He sent me this nice and informative email, which I'm publishing here in full with his permission. Brian is an amazing animator with an encyclopedic knowledge of animation and anime, making him a great resource for anyone interested in learning more about specific types of shots or techniques in animation. You can look at Brian's work Here.
hey ingo,
im glad your writing articles to help educate. doing so also helps yourself curate and focus your own taste and what you learned and throw out all the bullshit u learned.
pans are interesting to me. it is easy to abuse because its pretty easy to make and does so much. looking for clips i figured it be best to look by director since its more of a film making thing. it would be helpful to differentiate backgrounds(pans) and animated backgrounds. that confused me as a student.
here are some clips. its cool to see how pans are being used now that aftereffects is more integrated into their workflow. as you can see here:
naruto: https://www.sakugabooru.com/post/show/52664
mobpsycho: https://www.sakugabooru.com/post/show/74366
now animators can inform the camera's movement while they work for stuff that looks a million times better than a marvel action scene since the debris is edited and controlled by the animator. the bad guy's speed is too fast for the camera in this clip and is executed well with pans.
mobpsycho: https://www.sakugabooru.com/post/show/74368
the movement of pokemon now able to move more freely since the backgrounds can now move very fluidly.
here is yuasa and miyasaki using the pan to show an immediate change in speed.
lupin3: https://www.sakugabooru.com/post/show/16697
lu: https://www.sakugabooru.com/post/show/40732
pans are cool because u can stylize basic camera moves since your able to draw and manipulate perspective. look at tekkonkinkreet, mind game
360 camera move
mobpsycho: https://www.sakugabooru.com/post/show/73434
classic usage of pan:
moomin: https://www.sakugabooru.com/post/show/73943
akira: https://www.sakugabooru.com/post/show/62171
goldenboy: https://www.sakugabooru.com/post/show/17628
lu: https://www.sakugabooru.com/post/show/40812
momo: https://www.sakugabooru.com/post/show/14264
kaguya: https://www.sakugabooru.com/post/show/14395
bubu&bubulina: https://www.sakugabooru.com/post/show/16887
pokemon(2016): https://youtu.be/KRkvy-8woX8
im sure there are more abstract examples, like panning from extreme locations idk but i cant find examples.
for western productions they'll most likely use pans to stage the characters in the center, or focusing onto an object like what hitchcock does. the opening of peter pan is a classic and uses the pan so nicely.
Western examples:
Opening of peter pan: https://www.youtube.com/watch?v=b3FEK_2qFoM
scooby doo: https://www.sakugabooru.com/post/show/46534
If you are hip to film language you will probably know about "pans." A pan is a type of camera movement used in live action film. In animation, a pan means passing a background underneath the camera. When the background slides underneath, the camera feels like it's moving because of its position relative to the background.
But in live action, a pan means the camera swivels left or right. The camera is placed on a tripod with a pivoting head. If the camera operator pans left, it means she swivels the camera horizontally to the left. Swivelling vertically, up or down, has its own name- "tilt."

So a pan really means that the camera does not move at all. It stands at a spot and "looks around," like you would if you stood and turned your head. When you are actually moving the camera while shooting, this is a "tracking shot." Usually the camera is placed either on a dolly, or on a cart on a set of tracks on the ground (which is where the term "tracking" comes from). The camera could be moving forwards or backwards, side to side or in a curvy irregular path - it all counts as "tracking" short of using a crane. You might also notice that tracking shots and pan and tilt aren't mutually exclusive. A camera on a dolly is usually also on a swiveling head, meaning it can pan, tilt, and track all at the same time- you could think of it as if it's a person looking around while walking.
https://www.youtube.com/watch?v=P20XVEH7-SY
The difference between a pan and a tracking shot matters because audiences experience a movie from the perspective of the camera. This means the audience will be attuned to the cameras movements, and identify themselves with the way the camera moves. If the camera tracks, the audience feels that the camera moves through the set, because it does. If the camera pans or tilts, the audience will feel that the camera is "looking" - but not moving. You don't have to be an expert on film (like i'm not) - or even be aware of this language - to feel these effects on film.

Ida Lupino preparing to take a tracking shot on a dolly.
In cel animation, on the other hand, the camera never moves- it's fixed to look down at your worktable. All moving camera effects come from moving or replacing the cels beneath the lens. In the case of a pan, this means the background.
It might seem like the difference between a pan and a tracking shot doesn't matter in animation, but it actually does. Here's how:
What a tracking shot gives you that a pan doesn't is parallax. Parallax, in a sentence, is the optical effect that when you're moving, things closer to you seem to move faster, and things that are farther seem slow.
Lateral tracking simulated using parallax in Whisper of the Heart. How many tracking layers do you count? Also do you notice that one of them isn't a tracking layer, but actually an animation sequence?
In animation, the way you achieve parallax is to make more than one background layer. You might have a background, and a foreground. Pass them beneath the camera, exactly the way you would do a regular pan - except the top layer moves faster than the layer behind. If you are shooting frame by frame, this means every frame, you might move the background layer two millimeters, and the foreground layer ten millimeters between frames.
What this boils down to is that in a tracking shot, the camera is moving around. And when it moves, it can see new angles. This means that a tracking shot allows the camera to see behind and around things. Thats why when we make parallaxing lateral tracking shots in animation, we have to draw more than one layer- it's because we need to see what's behind the things in front.

With pan and tilt on the other hand - in both live action and animation - you get a flat image. Objects don't distort or show parallax in a pan. The image itself will be distorted, but the objects in the image relative to one another will not. This is why 360° photos work - a 360° photo is just a big, flat animation-style pan-and-tilt.
The confusing thing about this is that when animators use pans, most of the time they use them as tracking shots. Scooby-Doo, Looney Tunes, etc - almost every cartoon in the cel animation industry used single-layer backgrounds with no parallax to stand in for tracking shots. And yet, we understand these to be lateral tracking shots- We understand the camera is supposed to be moving horizontally, not looking around.
When Scooby is running from a ghost, we understand him to be running down a hallway as the camera tracks alongside, right? By the logic of single-layer backgrounds you might expect it to feel like Scooby is running in a big circle while the camera pans after him - but it doesn't.

The reason this works is because these backgrounds are drawn - or even coded - to look like tracking shots. Basically this means that we don't see cartoons like this as representing real life- we aren't "tricked," we are simply reading what the animators are telling us.
Drawing a 'true' pan might mean drawing something like this -

instead of this:
This is why sometimes, your eye feels more distortion on a flat tracking pan than on a 'true' distorted pan. A 'true' pan, depending on how it's used, can add a ton of depth to your shot, since it's physically analagous to a live action camera pan.
Here's a 'true' tilt from Jay Ward's Rocky and Bullwinkle and Friends.
P.S. - This post is not meant to tell you how and how not to do pans- it's only trying to clear up some things about animated pans by examining their relation to live-action camera effects. The idea is to understand better how these types of effects work with our eyes so that we can have more control over the spatial sense of our cartoons, and maybe pull them a little more into the third dimension without making extra work for ourselves. Animation studios in the late sixties through the eighties used all kinds of pans all the time- sometimes accurate, sometimes totally bullshitted, sometimes with zero spatial sense at all. The only way to really find out the limits of a technique like this is for you to go mess around with it yourself. (✿◠‿◠)
Ingo Raschka 2019
Before it became cheap and easy to use computers to simulate three-dimensional backgrounds, cel animators had two options when it came to representing 3D space- they either had to animate it by hand, or use techniques to "cheat" three dimensions - on paper - to save themselves hours of drawing. In 1936, Fleischer Studios invented a solution called a Rotograph which suspended transparent cels in front of a physical handmade set, making the flat characters seem to be living in a three dimensional world.
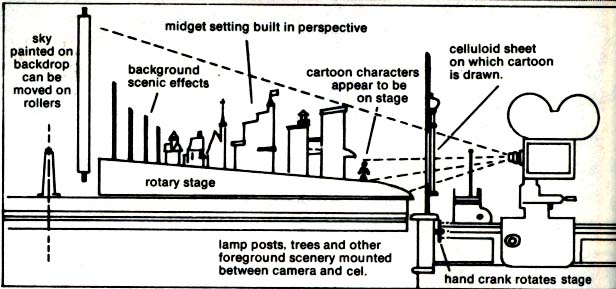
Max Fleischer's Rotograph
However this was more of a spectacle than an actual cheat, since the cartoon Fleischer produced with it, "Popeye meets Sinbad the Sailor," mostly consisted of the characters walking left and right across the screen - a convention followed by most of the cartoons of the time. In other words it had the dimensionality, but it didn't use it.

"Popeye the Sailor meets Sinbad the Sailor," 1936
This video-game-style flatness is the way most cartoons were done for decades after this, being especially pervasive in the heyday of television cel animation. For television, flat, profile layouts were especially useful because they allowed studios to re-use assets like walk cycles and animation sequences. These studios would often reshoot the same animation on a different background. Since reusing animation was a practice employed by every major television animation studio at the time, this flatness was very prevalent in background design for animation for decades, and continues today. But some studios were developing clever ways of using animation "cels" - the flat sheets of acetate on which colorists would paint the finished frames of animation - to simulate three dimensions on the cheap.
A big problem facing animators who wished to depict three-dimensional-ish scenes (like moving cameras, characters coming towards or away from the screen, etc) was that it was difficult to scale a still image. With digital images, we use algorithms written to interpolate their pixel values into a larger or smaller array- allowing you to size or stretch an image any way you want -- like this.
In animation software, it's very easy to, for example, take a walking loop and scale it up so it seems like the character is walking towards you. But before computers, this was much, much harder. Most of the time, the most convenient way to scale up an image was just to hand-draw each frame getting larger. Zooming in on the whole image is easy- just zoom the camera closer to the table you're shooting on. But zooming only one layer, without affecting the others, was hard.
The only other option (other than inventing a colossal and prohibitively expensive "multiplane camera") was to use a (also massive) tool called an Optical Printer, a device which allowed you to composite multiple images or strips of film into one. The optical printer works through a complicated process in which a mask called a "traveling matte" is made to protect part of each frame of the film from being exposed. The mask has to fit the shape of whatever is being added to the image, so sometimes it can take a long time to make. Once the first image is shot onto the film, a reverse mask is made and the rest of the film is exposed. And so on and for as many layers as you have the patience for. By making a mask around a cel and zooming the camera in on it, then going back and reshooting the background but with the first cel masked off, animators would be able scale an image without the background coming with it.
If that sounded complicated to you, it was probably also preferable for the animators (or in this case optical printer operators) to avoid using this process if they could. The most convenient way to do effects was in-camera, i.e, using cels. For this reason, animation studio workers developed ways to make the viewer feel as if she is watching a camera movement, or a character moving along the Z-axis, without having to do excess drawings.
That's a lot of history, now here is what all this has to do with Anime roads:
Some animation studios had figured out a sneaky way to get characters and objects to appear to come towards the camera -- without using any animation at all.
This technique came straight from photography and the real-life physics of light, lenses and refraction.
"The End of Evangelion," 1997.
In photography, depending on what kind of lens you put on your camera, you will get a very different picture. A 55mm lens is called a "normal" lens because it's as close as lenses get to what our naked eyes see. A shorter lens, and the picture starts to become fisheyed. A long lens, or telephoto lens, seems to flatten the image.
This effect, known misleadingly as 'lens compression' is also what allowed Hitchcock to do this.
Actually, any type of camera can give you that flattened image. The affecting factor is distance. If you take a picture of something far away and crop a small portion of the image, that portion will look flat, just like it was shot with a telephoto lens. What a telephoto lens gives you is essentially a high quality version of the same thing- a zoomed in photo. Here's a video I took with my phone:
Ingo Raschka 2019.
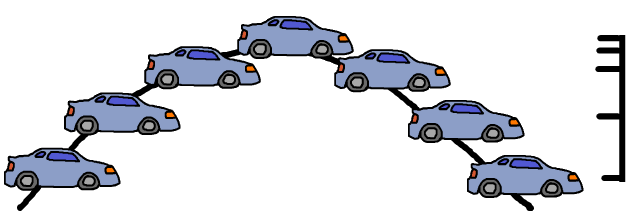
Notice how at a distance, things which are similar sizes in real life (like these cars) will appear to keep their size even when moving towards or away from the camera.
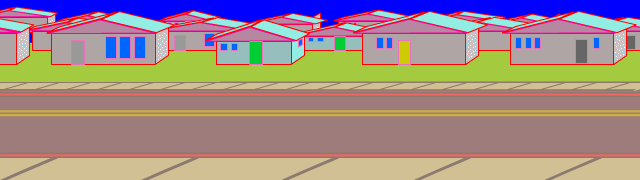
So animators translated this technique for use in animation. Layout artists drew backgrounds that mimicked the effect of a long lens, and animators drew images which could be panned across it.

Using this method, the layers of animation- whether they be characters walking, cars, horses or whatever- could be simple loops or even still images. The cameraperson would pan a still image or loop very slowly up or down the background. This saves a ton of time, and achieves an effect that feels similar to a real camera.
The limitations of this are that you have to design the background to feel similar to that of a long lens, which means your camera feels farther from your subject. But that's a problem that could easily be solved by the drawing style you're working in. Since drawings aren't fixed, like lenses, you can have parts of the image drawn to look like a long lens and part to look like a fisheye. Or just distort it until you get what you want. A cartoonier style might help divorce this technique from the real-life photographic principles behind it.
"Don Kihot," Vlado Kristl, 1961
Now, lets make an anime road:
The simplest possible anime road format uses 2 drawings: a road, and a car. I'm going to use 3 drawings for mine,counting the background. I drew my assets in my sketchbook, scanned them, and cut them out, ending up with a few transparent PNGs. For the background, I used a picture of the sky i took with my computer webcam.
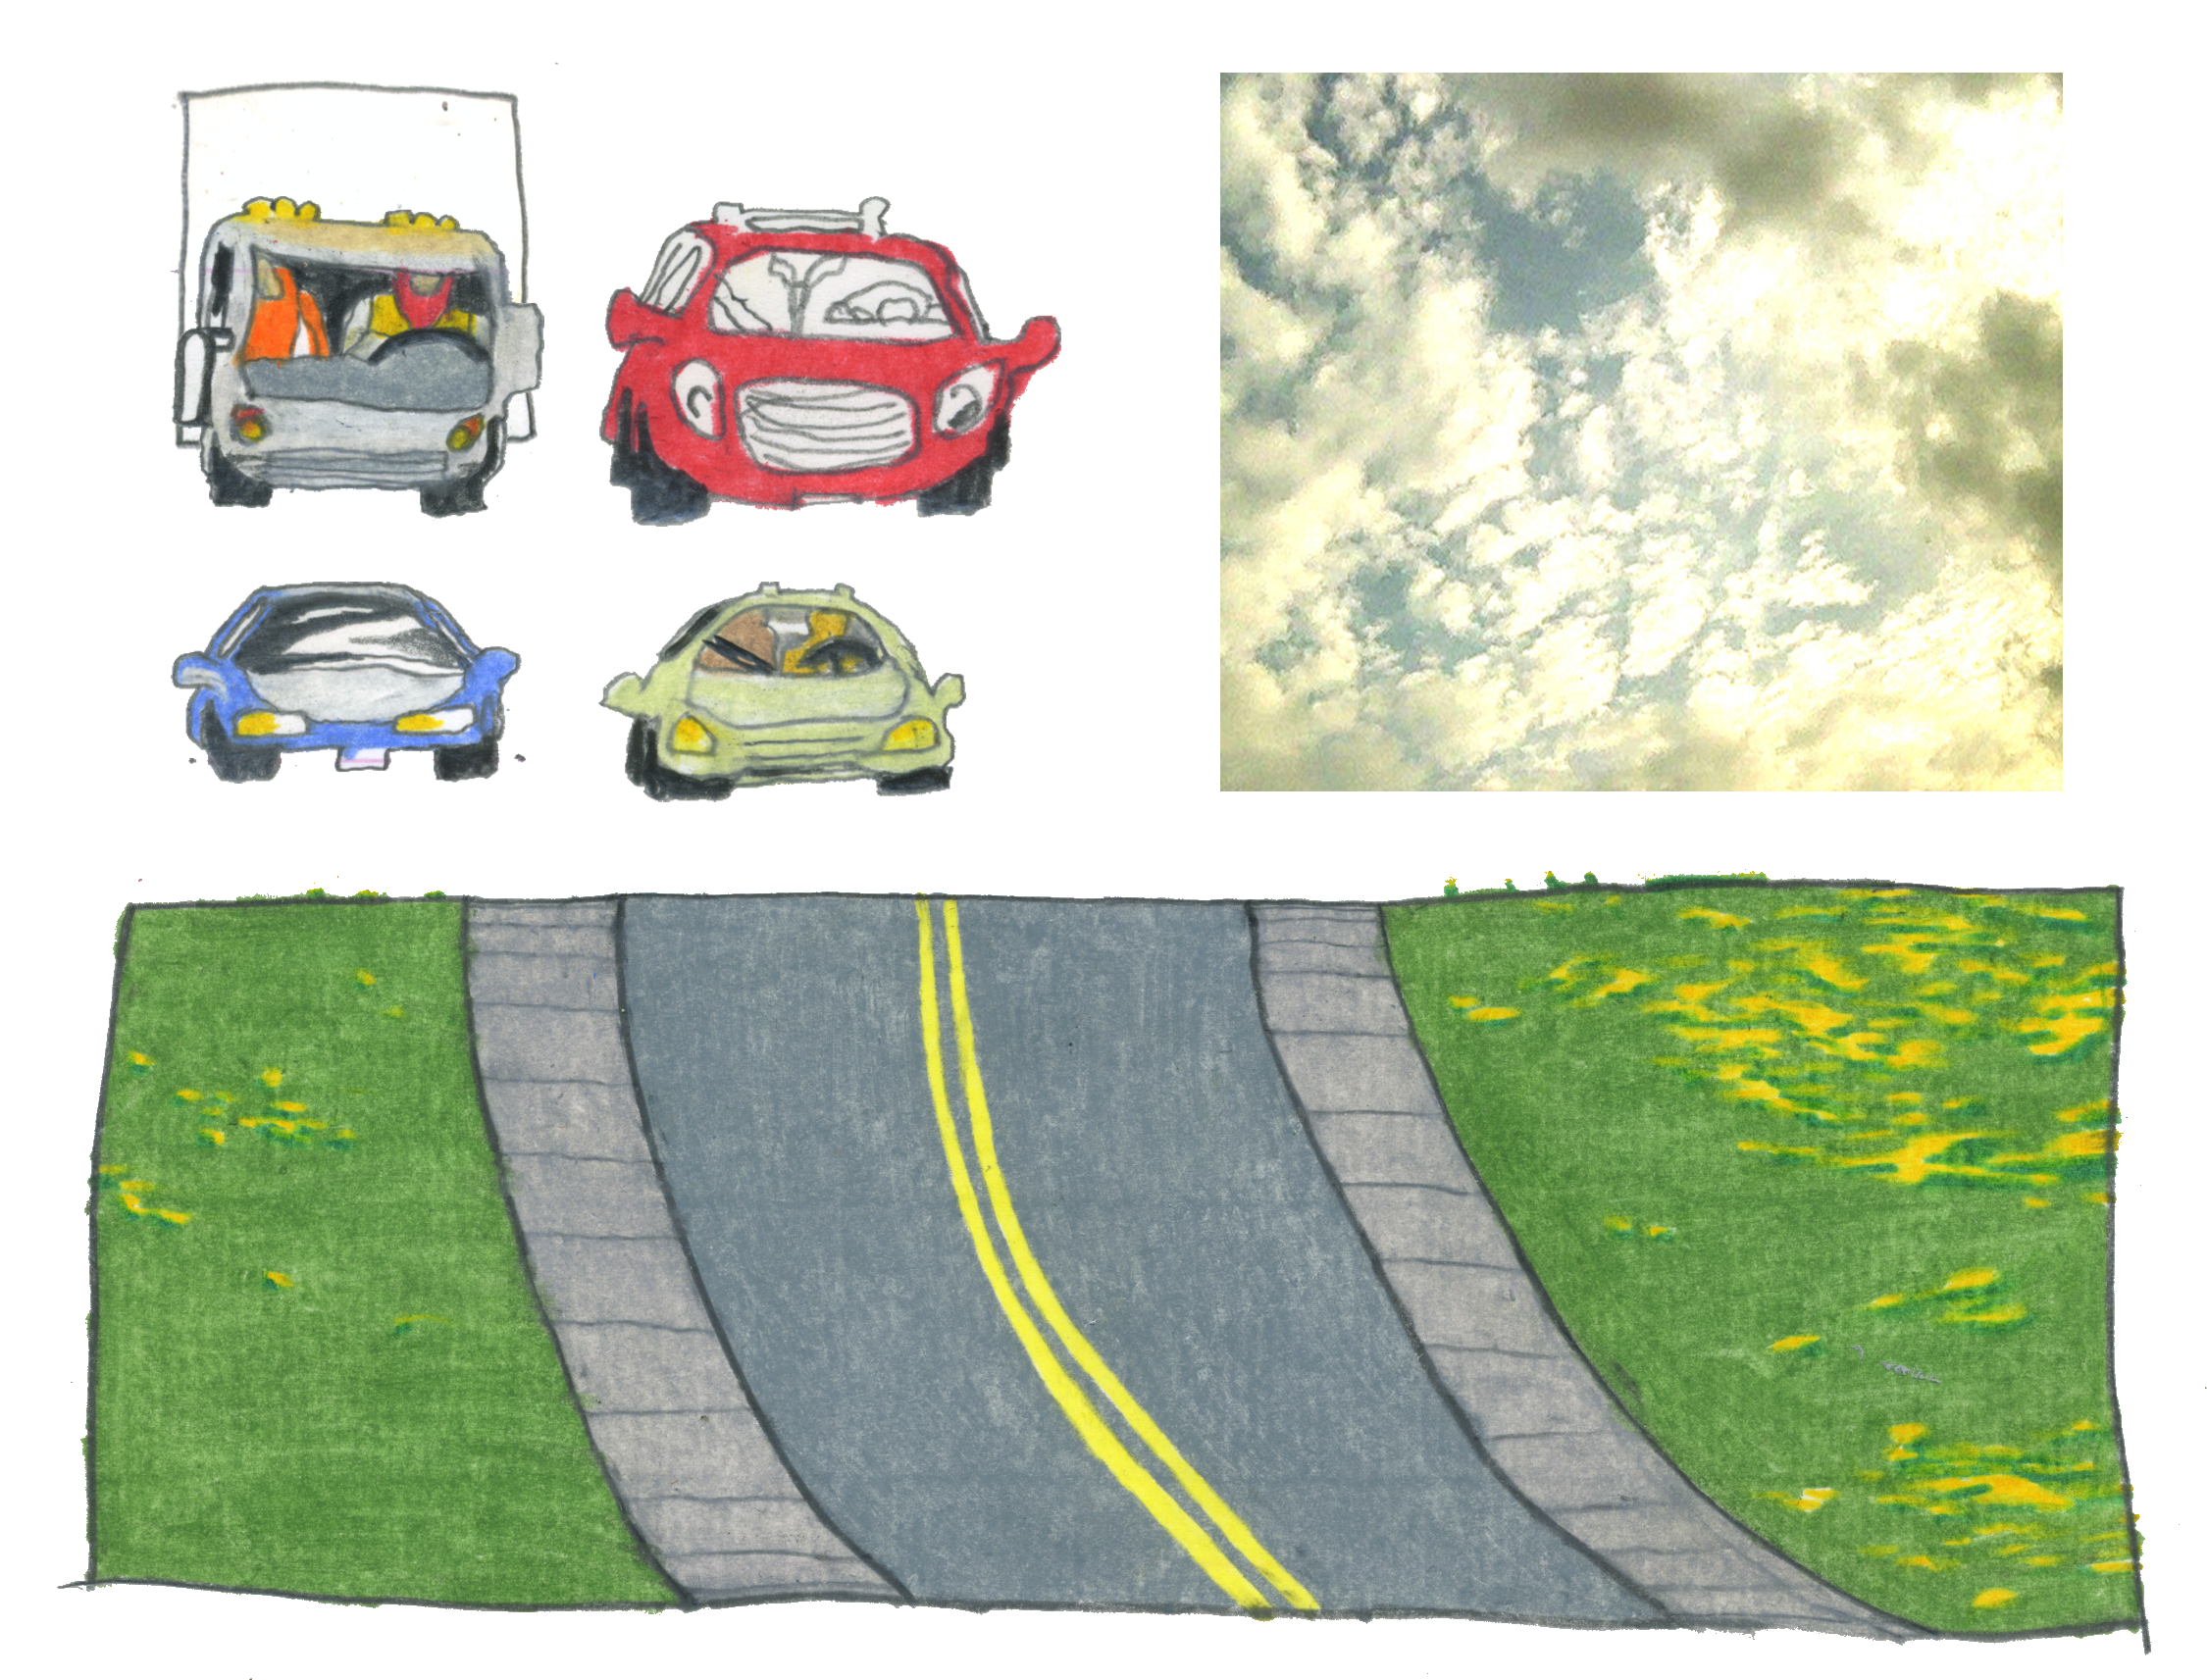
I composited these together in Adobe Animate- but you can use any animation program that lets you track images across the screen.
The important thing is to pay attention to how the car slows down when it reaches the top of the hill. This is to pretend that the hill "flattens out" at the top, so that the car seems to stop moving.
If we look at an imaginary "side view" of the road, and track where the cars position would be, it matches up with the "flattening."
Add a little shadow under the car and you're done.
Ingo Raschka 2019
This technique makes it efficient and easy to get a dimensional feel out of your shots and editing. You can do it in an hour, or spend a week perfecting it. It's versatile, and, it's fun!
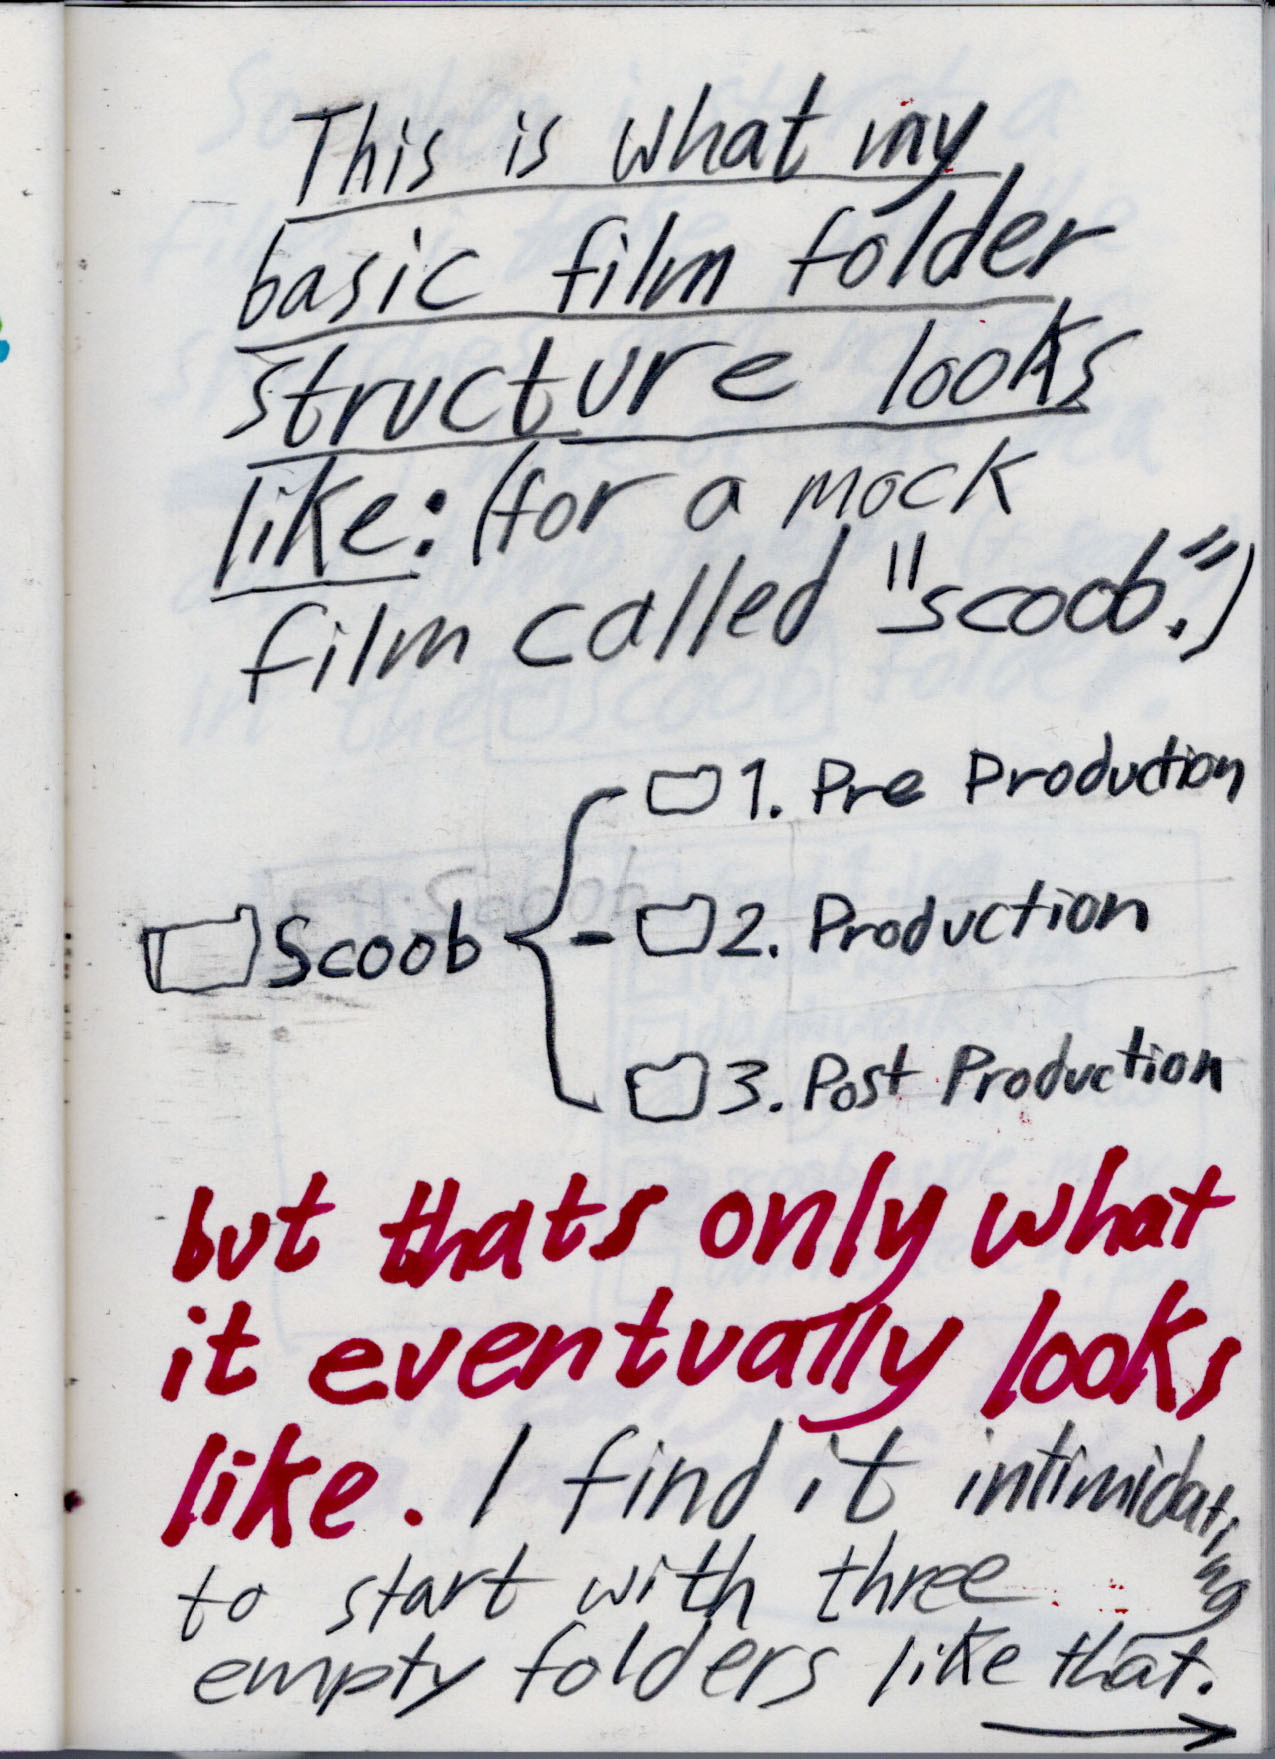
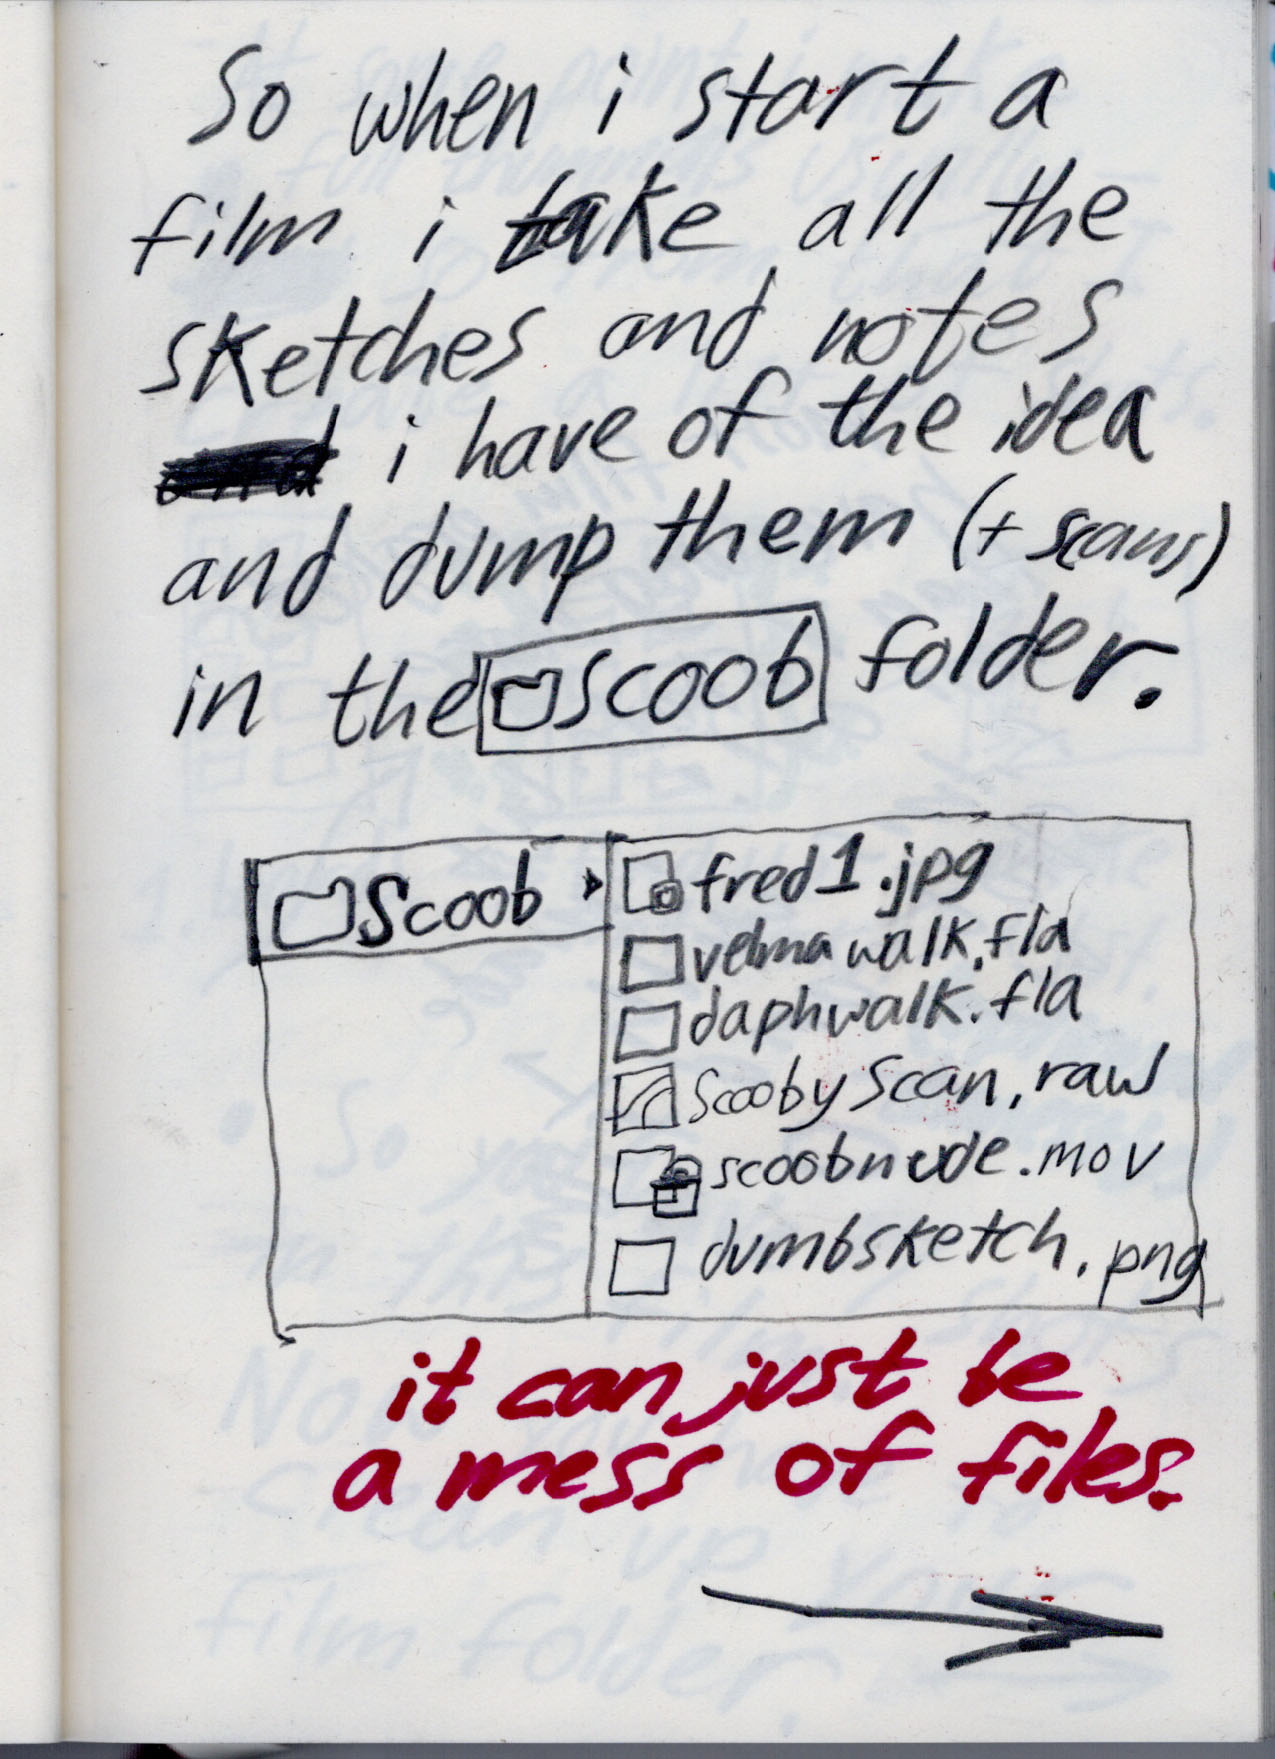
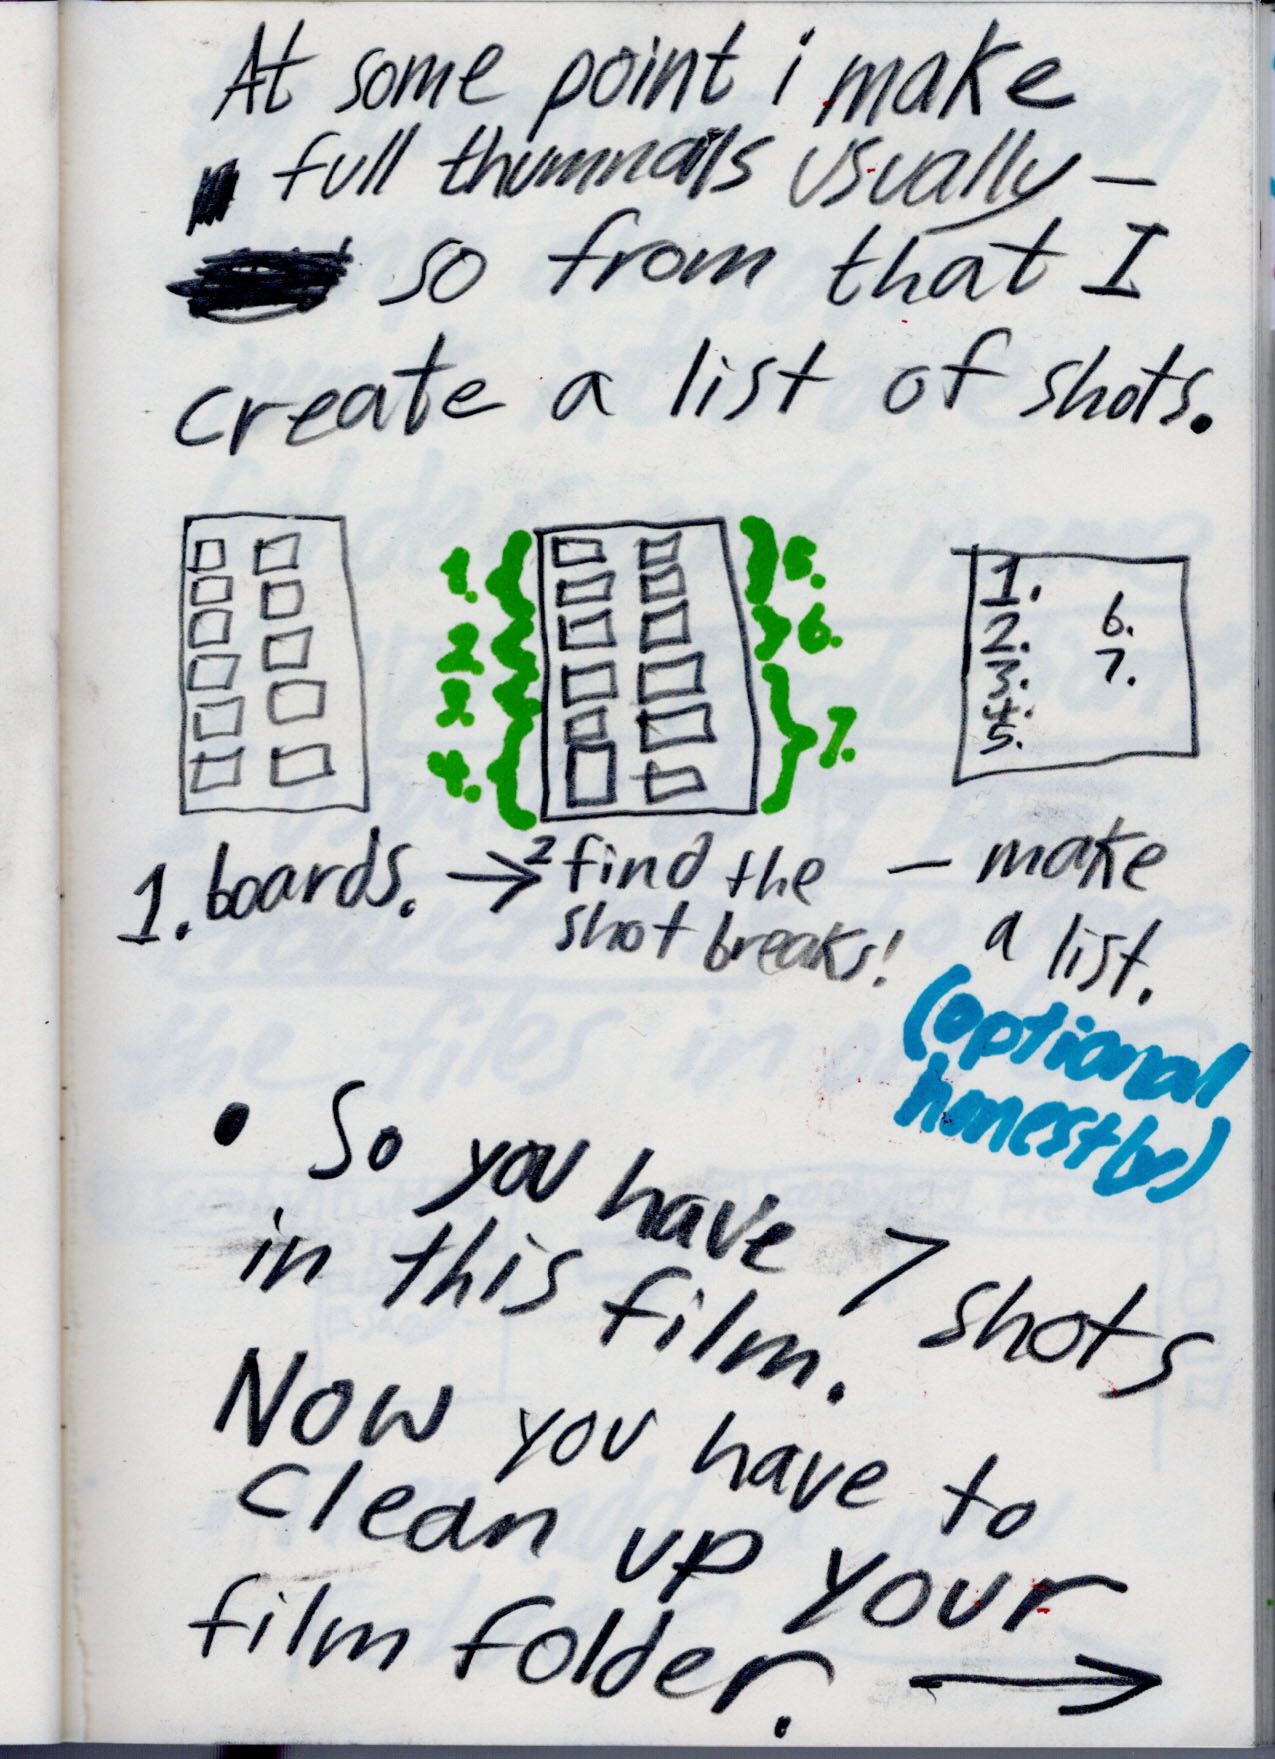
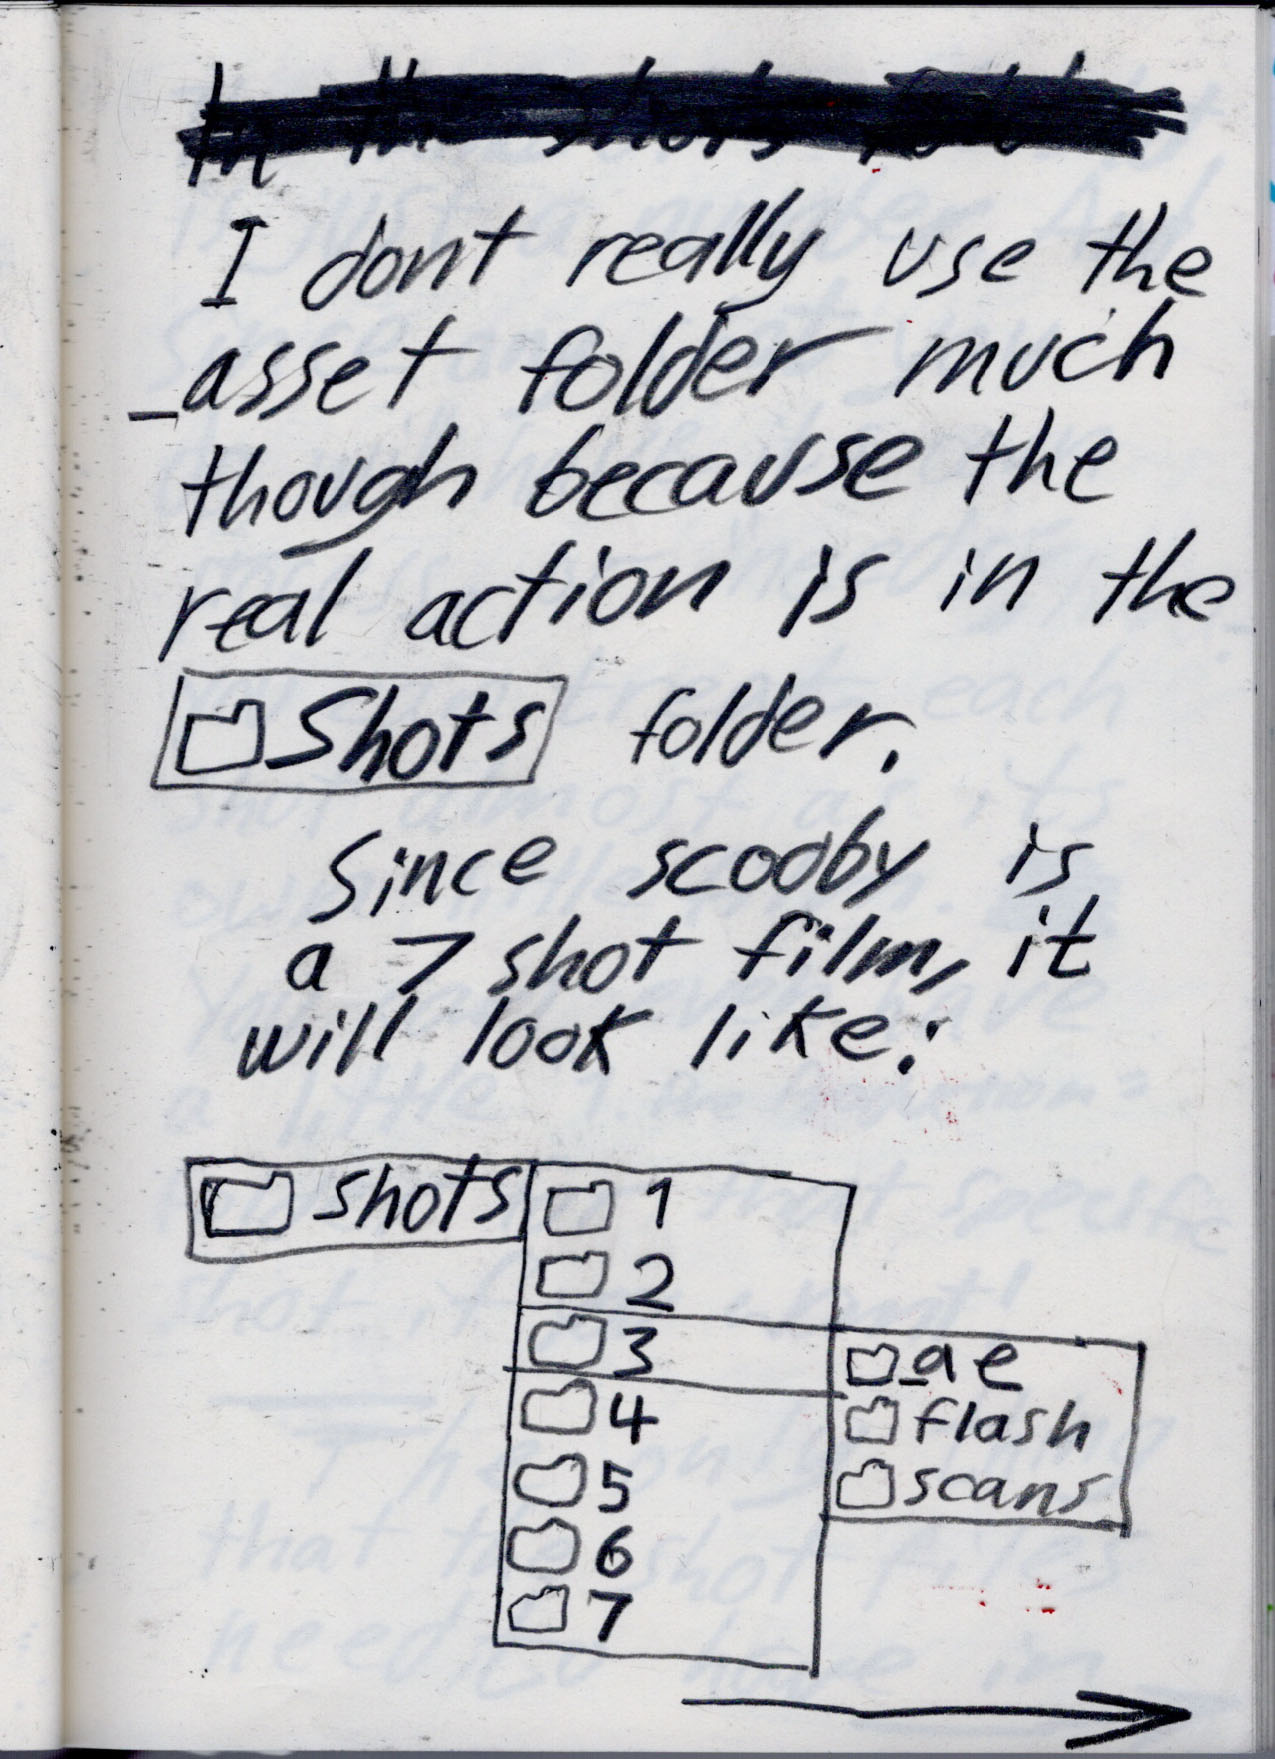
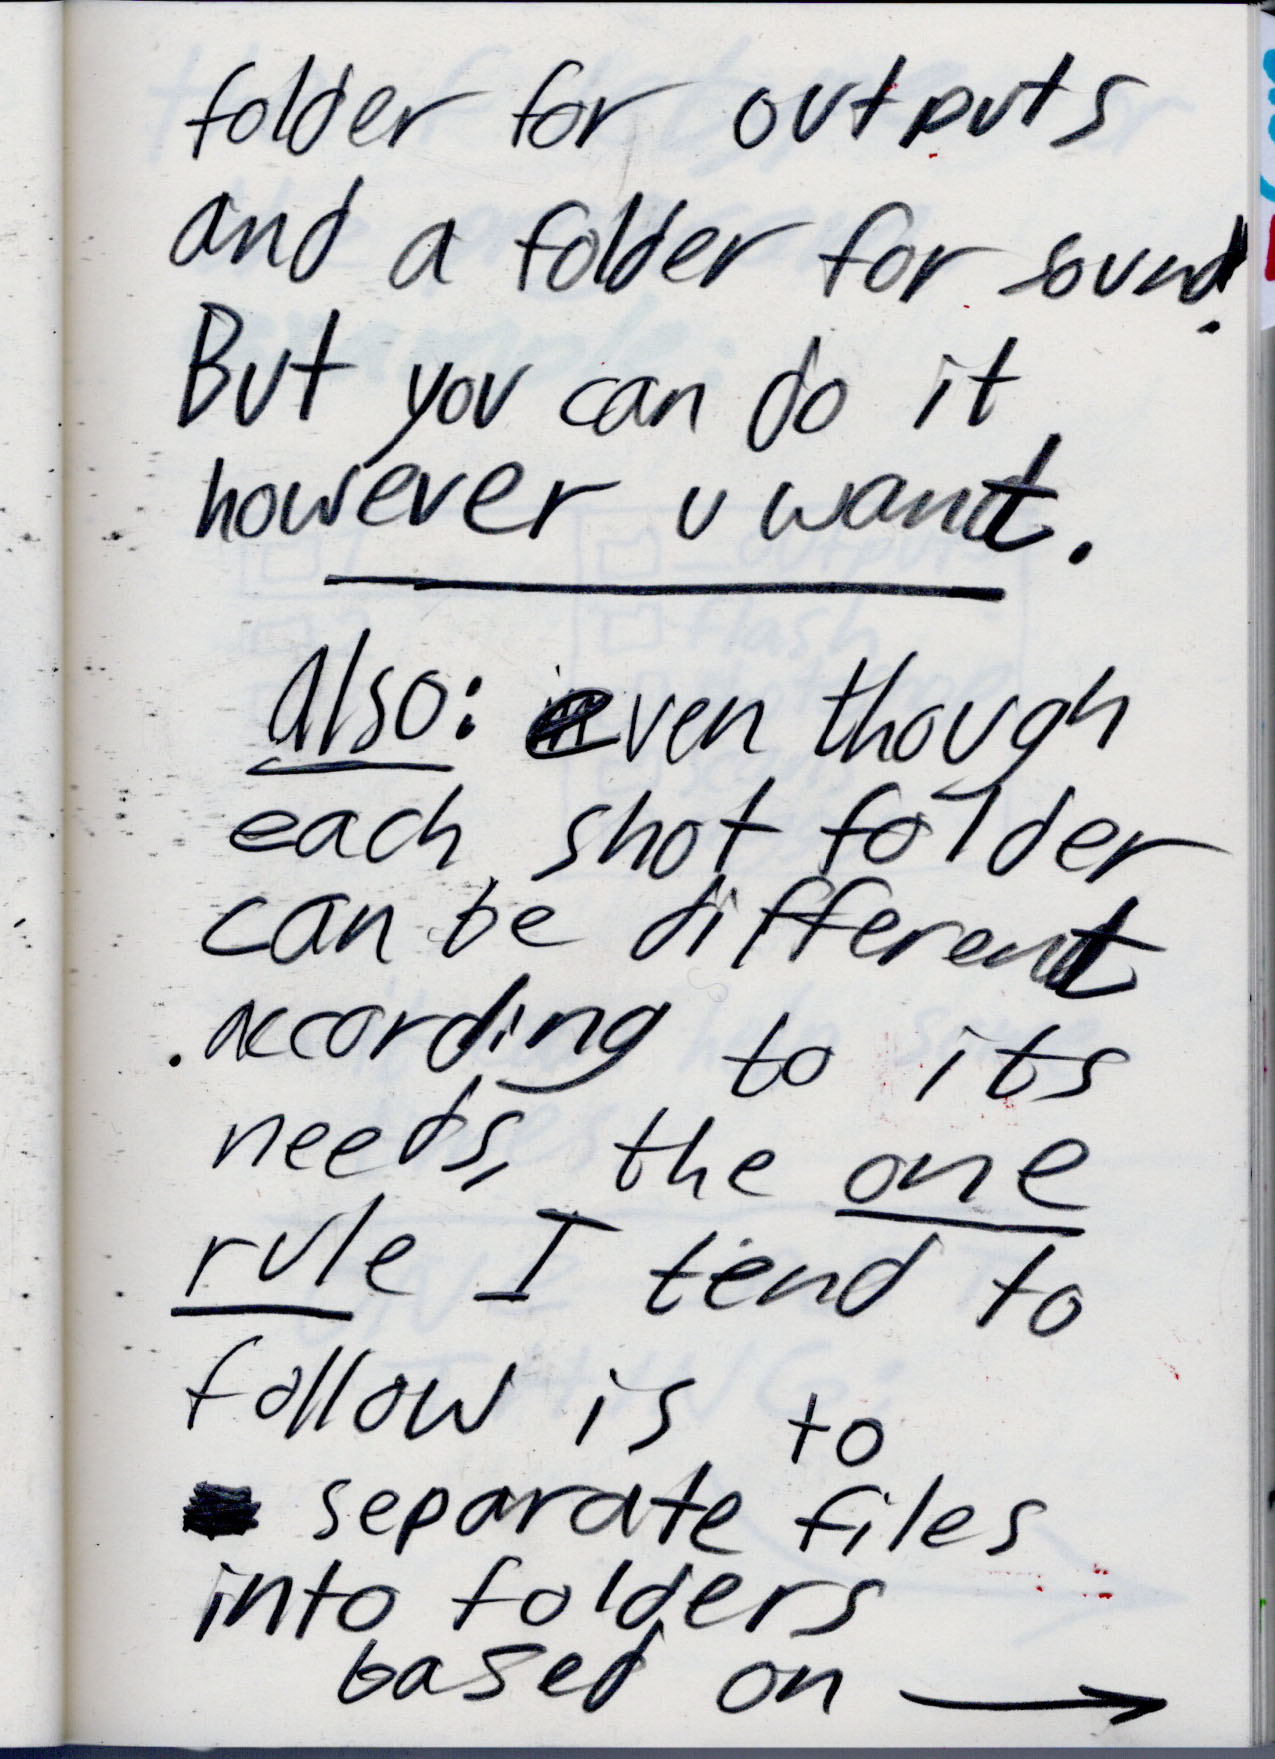
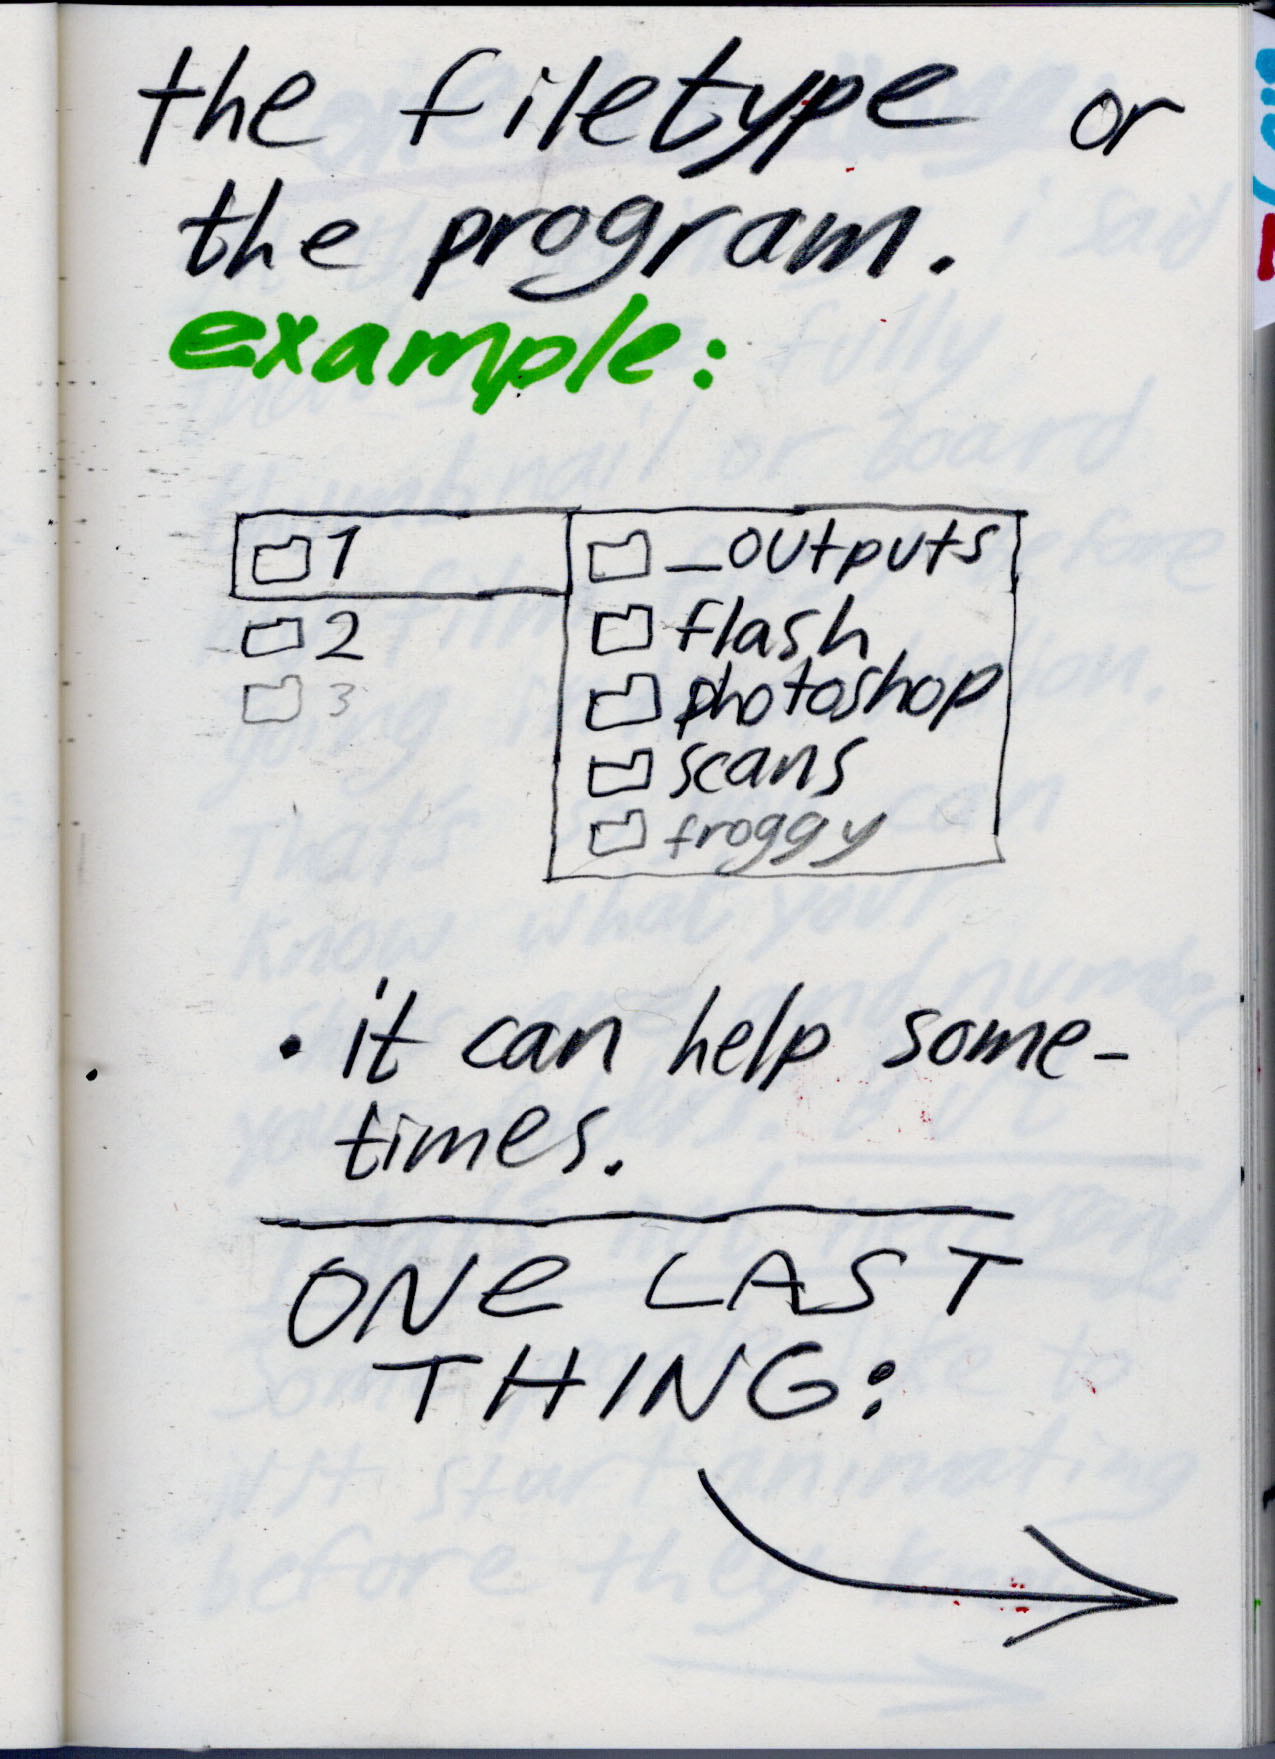
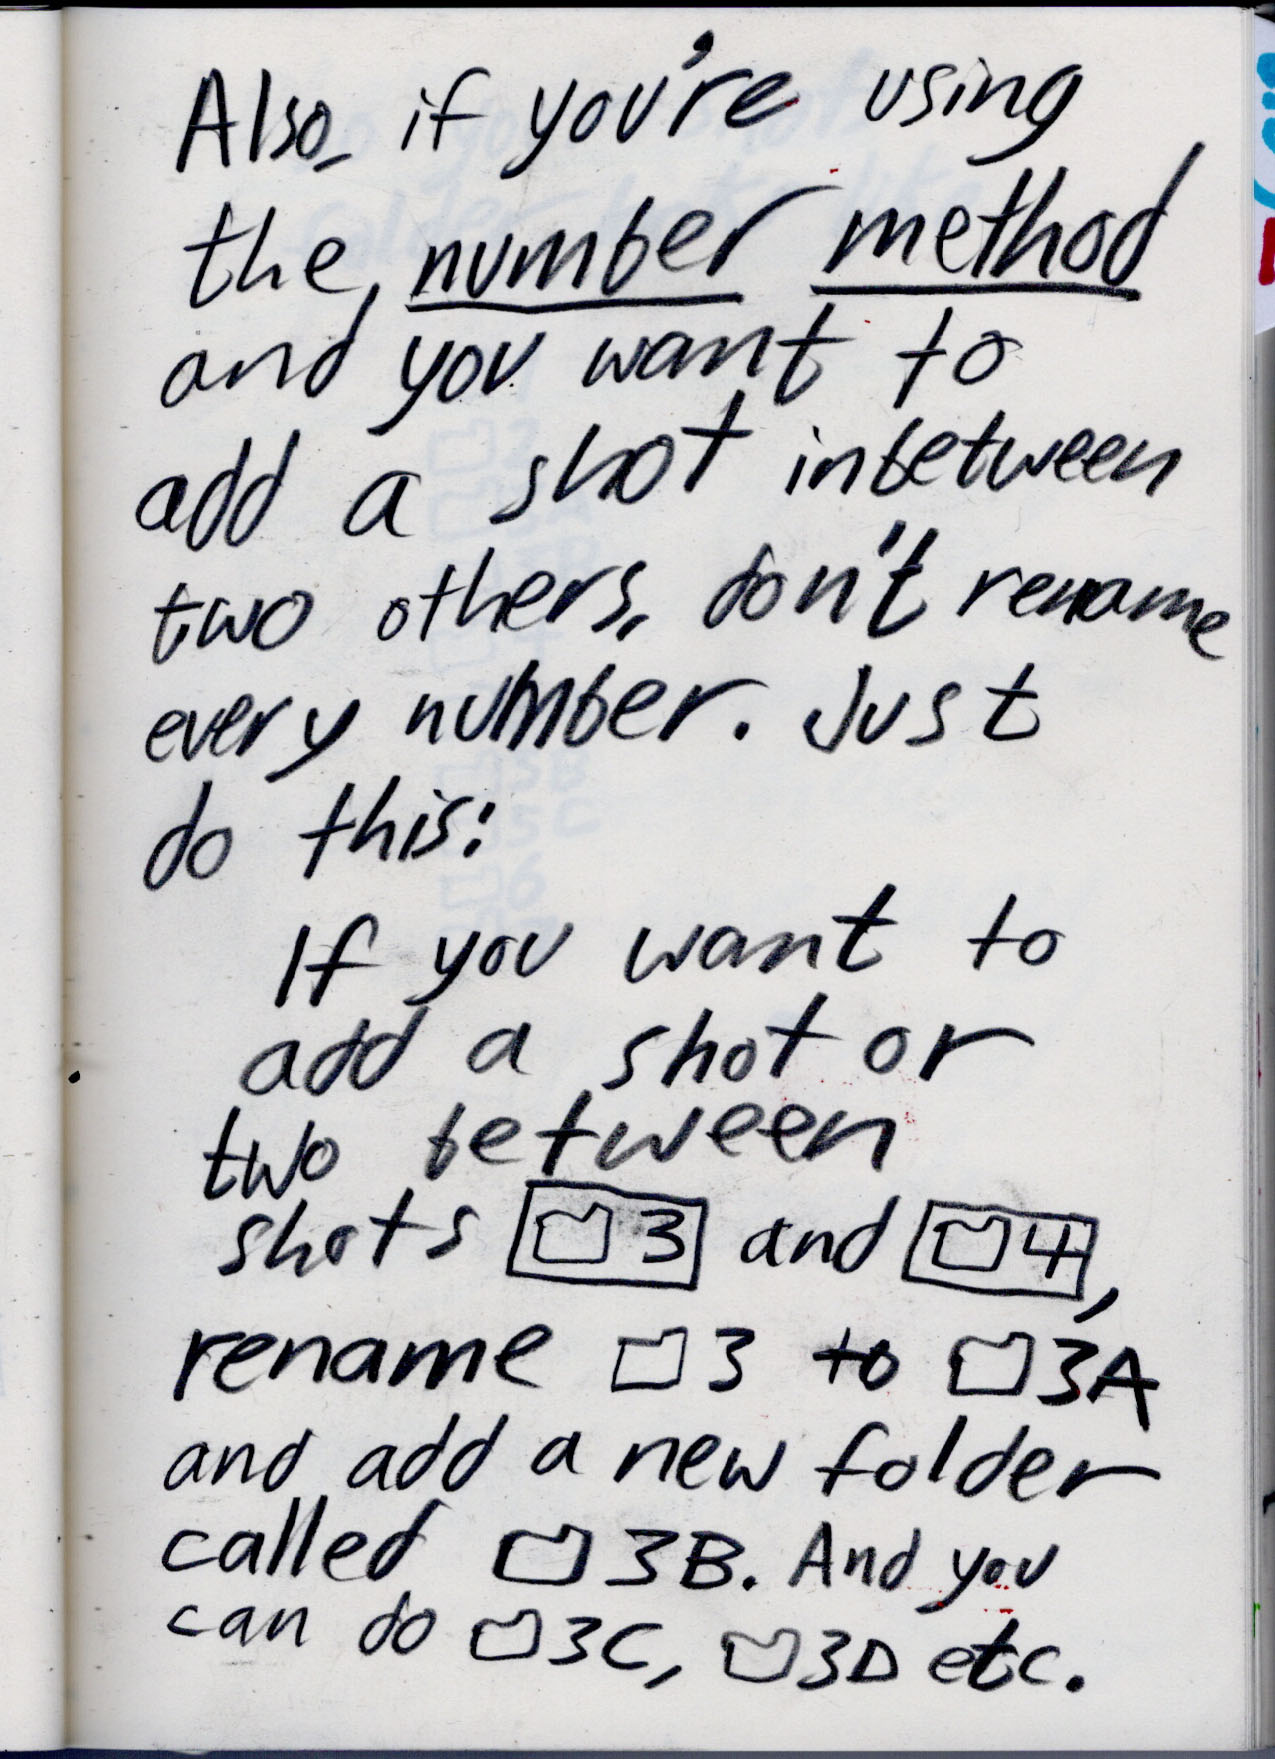
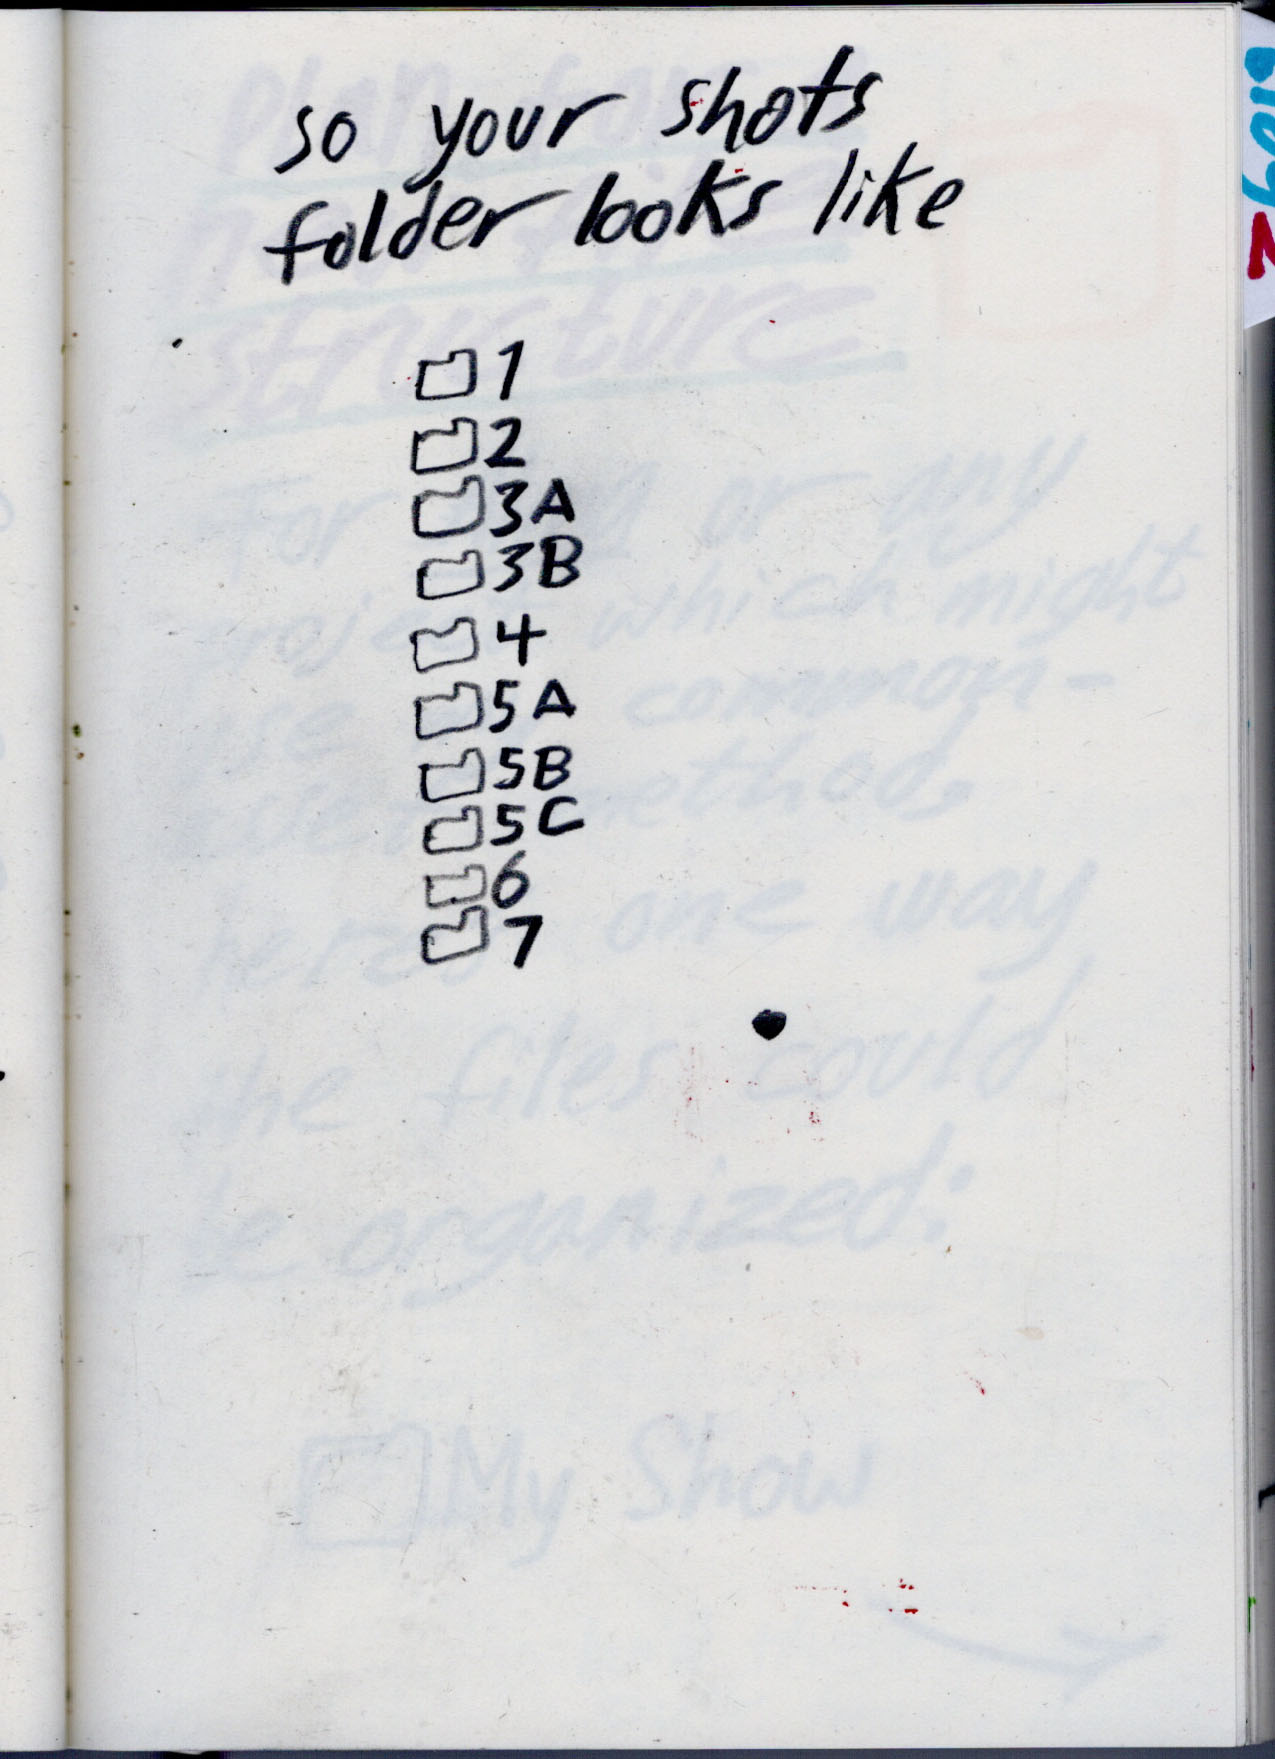
This is a series of notes describing how I organize my files when making animation.
Since some animation requires making tons and tons of files, it's good to have a clean way to organize them.
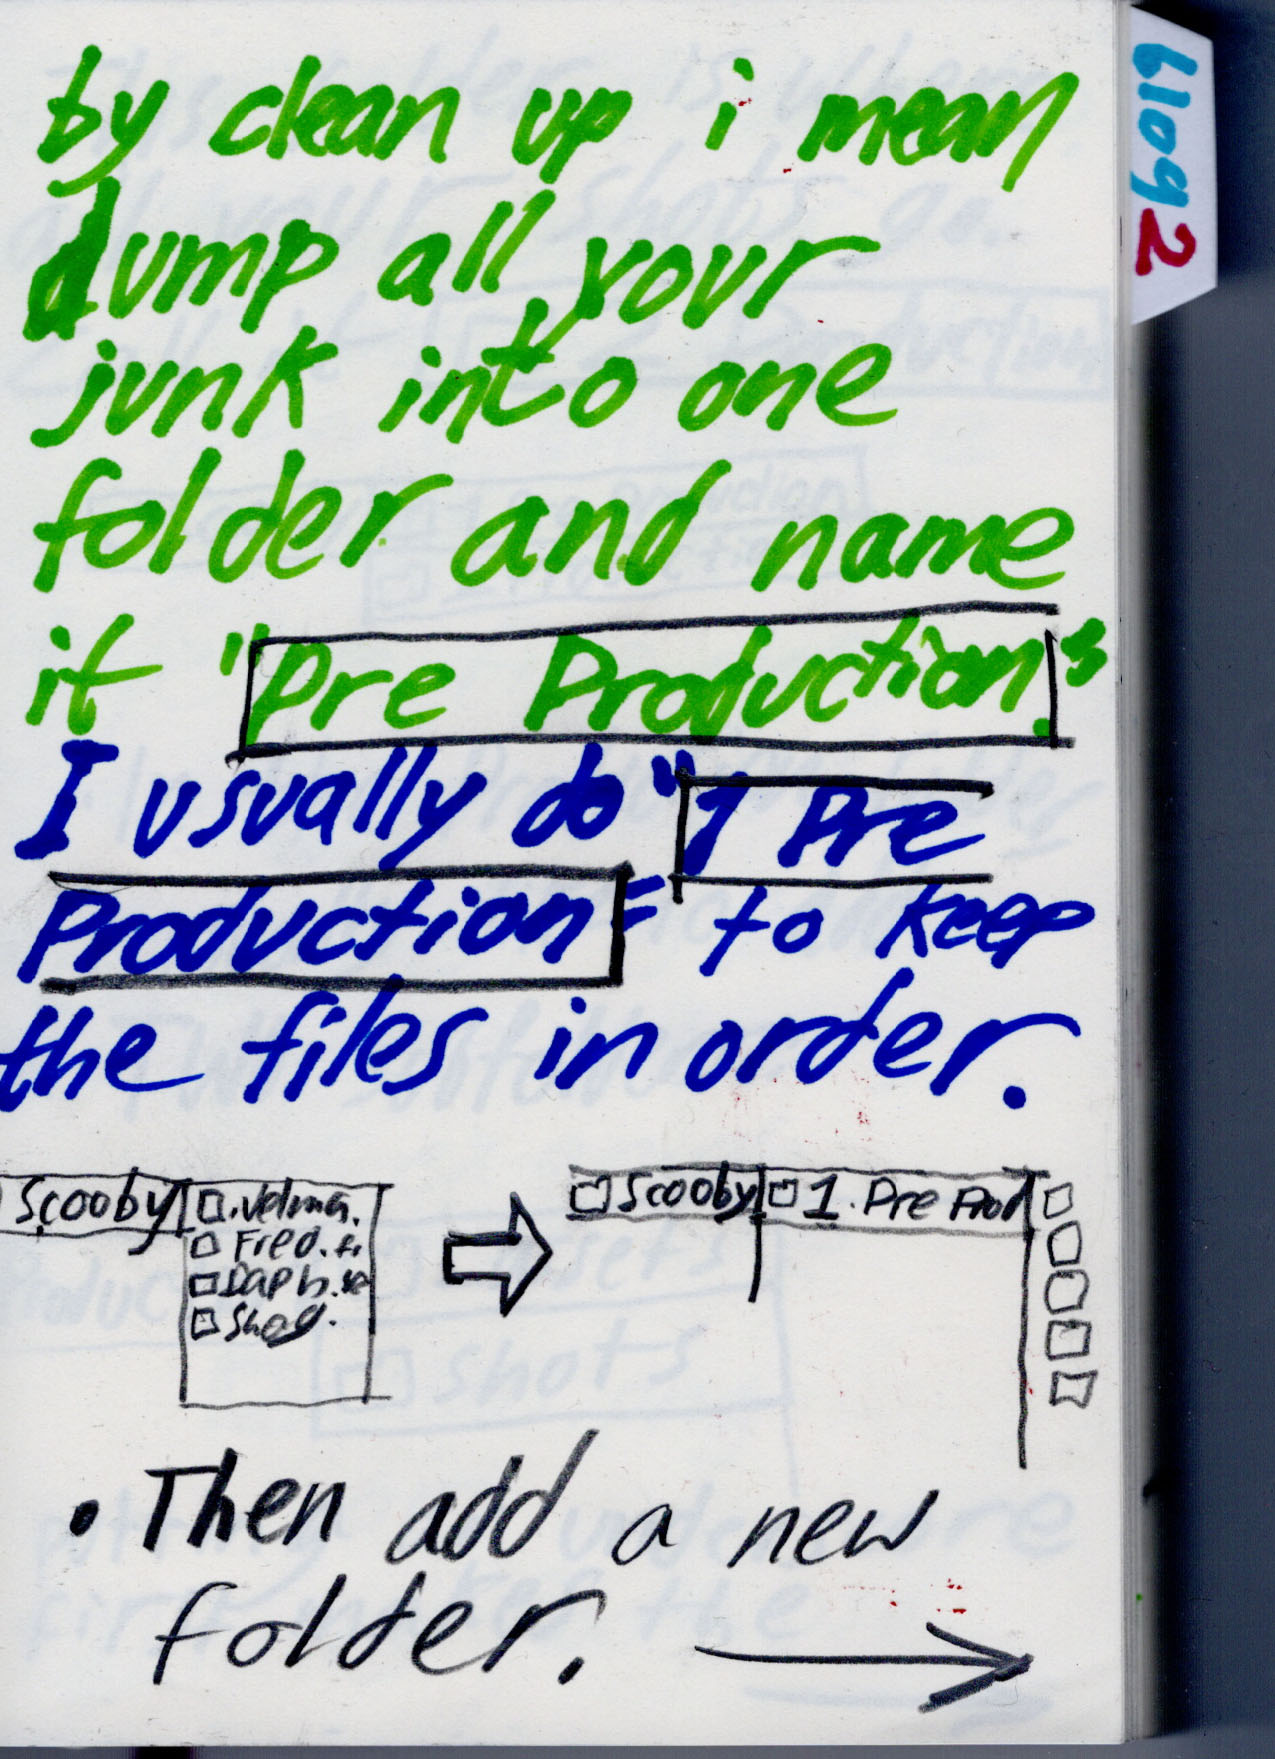
But I don't like setting up all my files before making a project, because I end up with a lot of empty folders lying around my project folder.
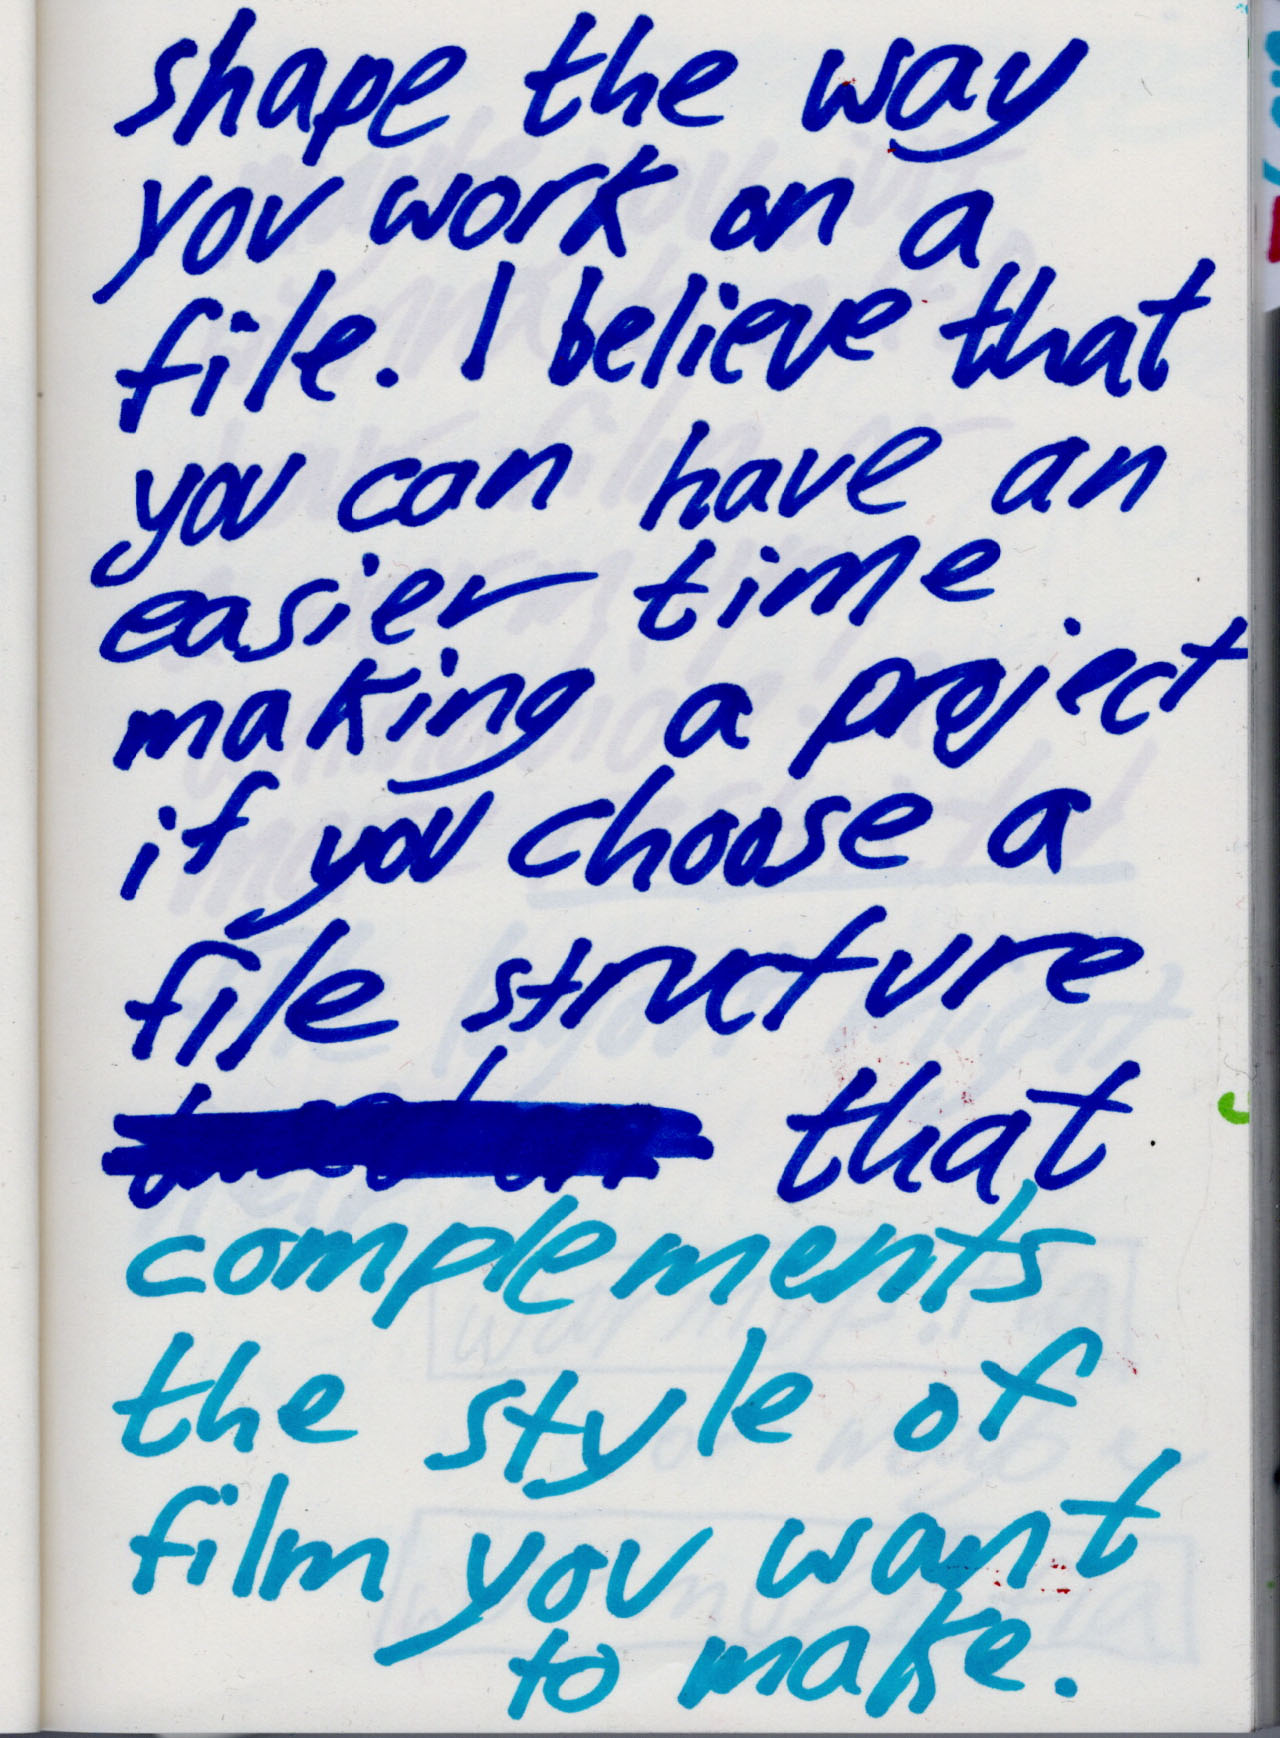
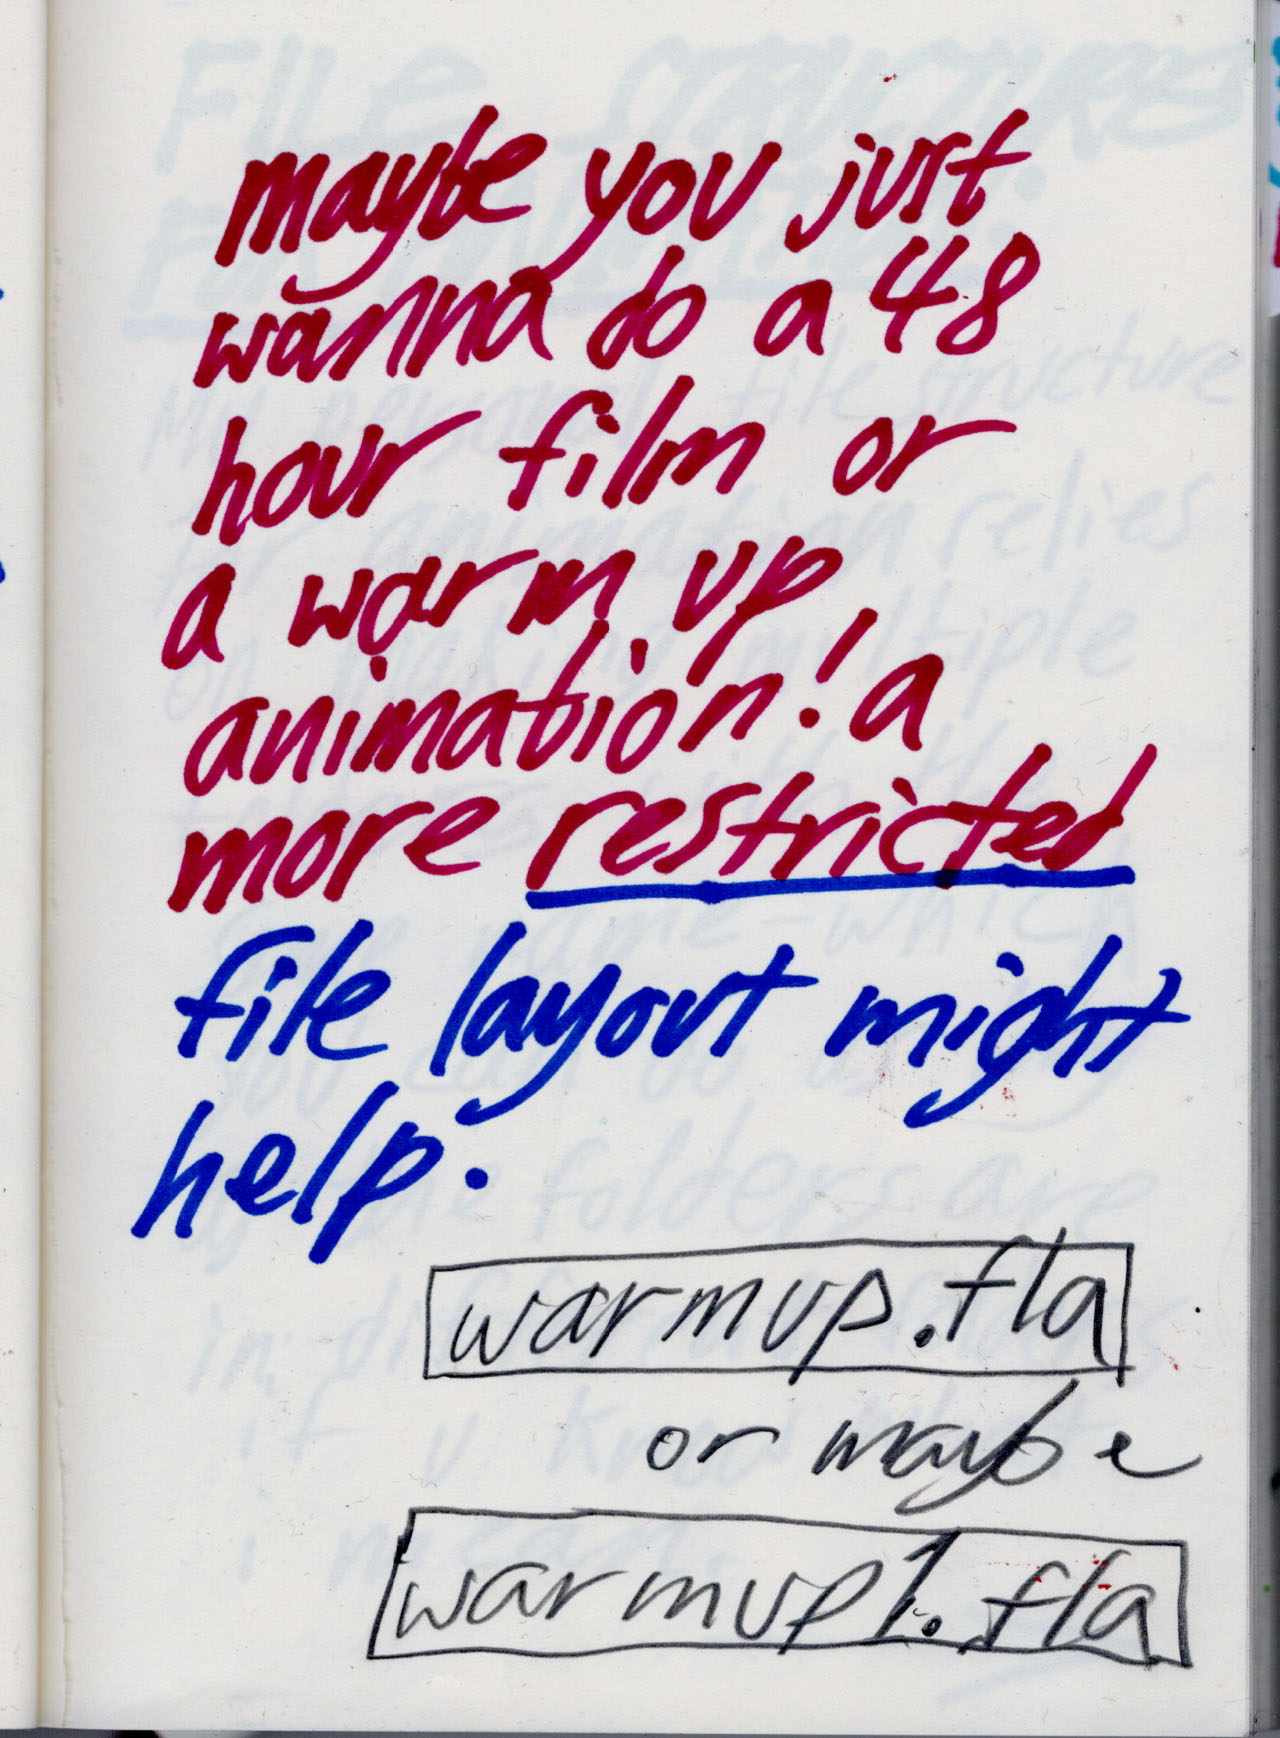
This method of file organization is my attempt to reconcile messy, freeform file layout with a clear structure without forcing the artist into a rigid pipeline.
This is a series of notes i wrote about a thought i had: That the way you version your computer files for a project affects the way you make that project.
And that you can use the way you version your files as a way of communicating with yourself as you make a film.
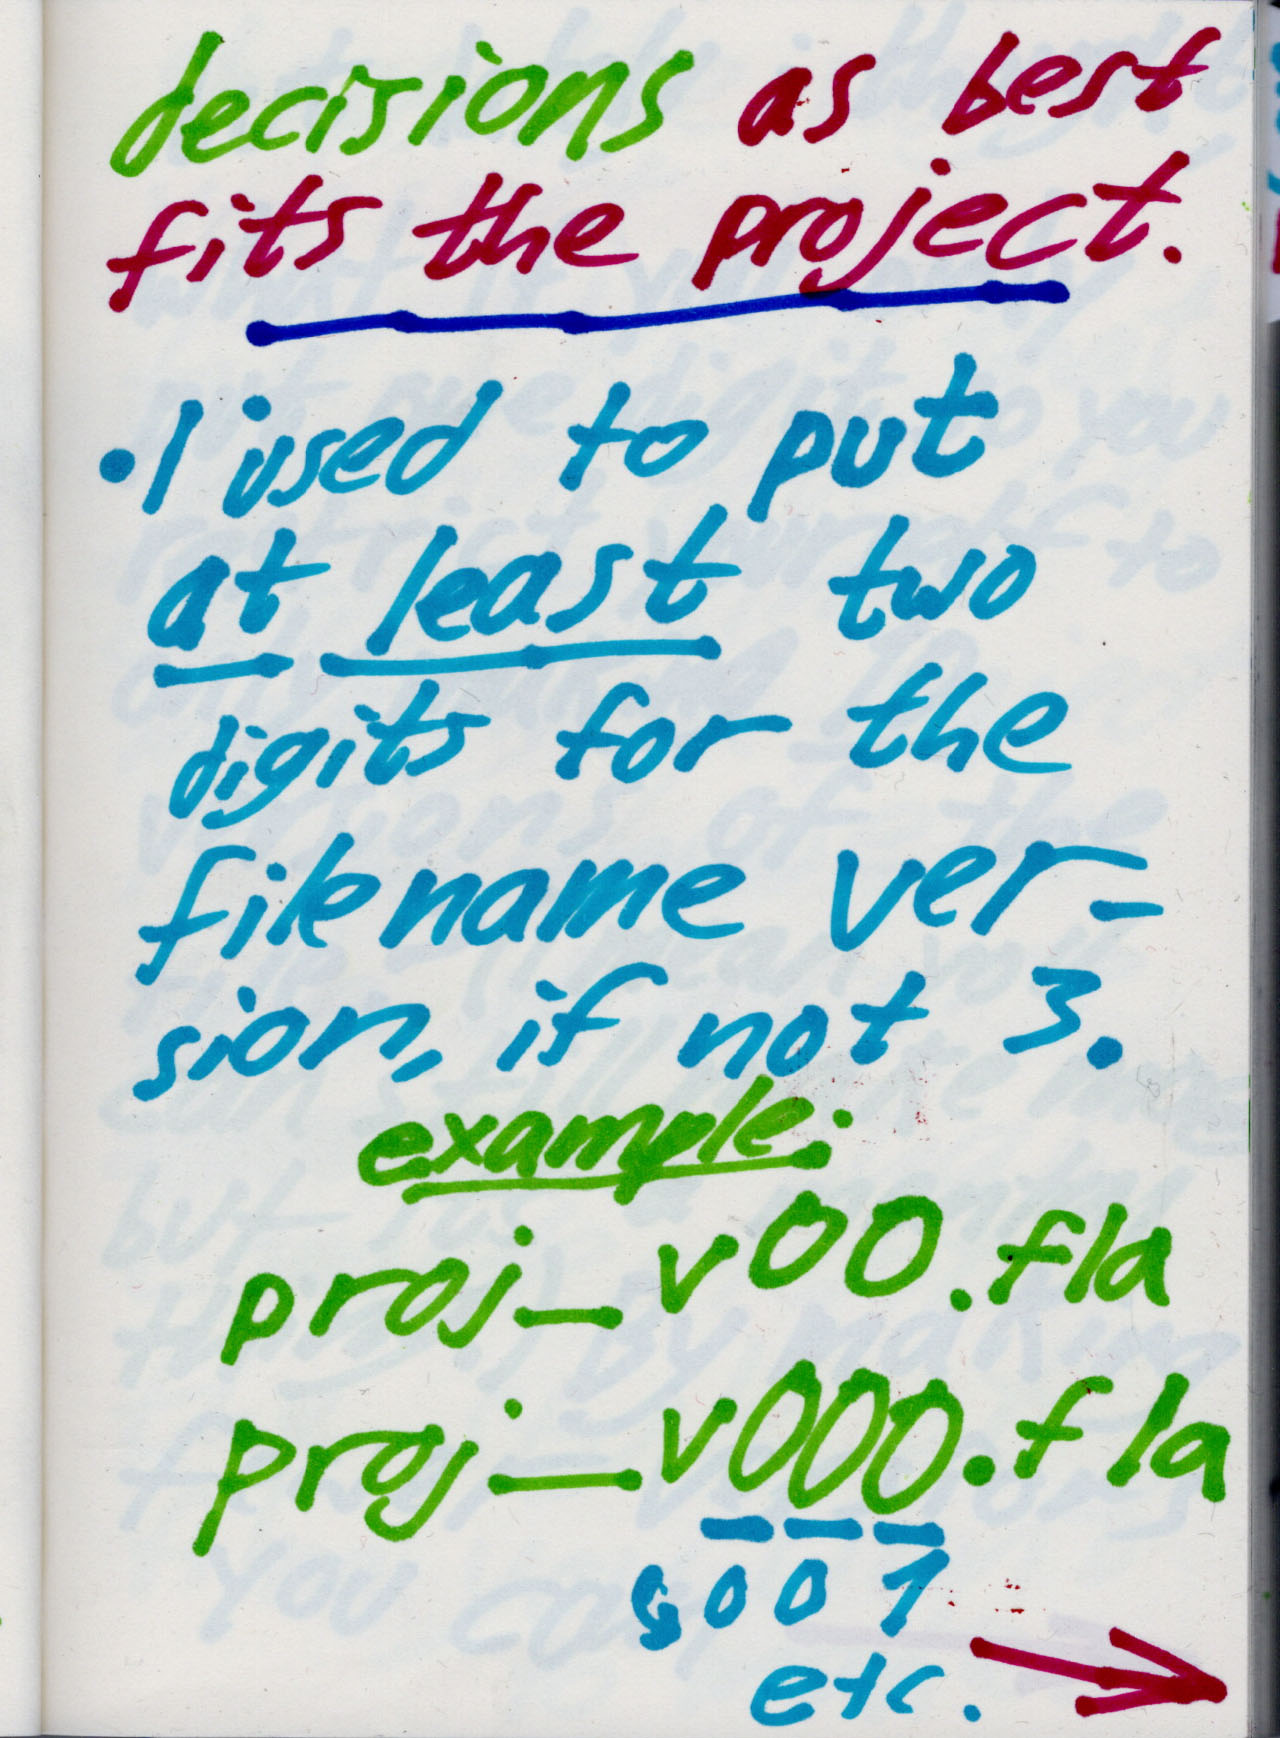
For example, i used to version my files with a three digit number whenever i animated in a computer. Like this:
But I don't do that anymore, because I realized that I never made more than 100 versions of a file. I don't think i even ever made over 50.
Not only that, but I realized that making even over one hundred versions would be totally exhausting. Even making a feature film, I don't know why anyone would have to spend that long on a single shot. Can you imagine getting to the point where your files started looking like this?
Everyone names files differently. My friend Julian, for example, told me that he'll sometimes name his files after whatever song he's listening to. But unless you version your file every 60 seconds, I don't see any reason why you should have over one hundred versions of an animation file. Working in a file for that long sounds terrible. I'd go nuts! And then who would finish my shot.
So that's why i switched to only using two digits at the end of my file, like this.
Not only is this more realistic, it's also a way of telling yourself not to spend too long in one file.
One of the reasons I switched from using 3 digits to 2 was that 3 digits made work seem ten times slower. If you're seriously thinking in the back of your head that you might eventually have hundreds of versions of your file, you might end up getting discouraged and abandoning your file- or worse, actually making hundreds of versions. If you're working in the same file up to version 100, then I hope you're getting paid a lot of money. Or you spend more time saving your file than actually working in it.
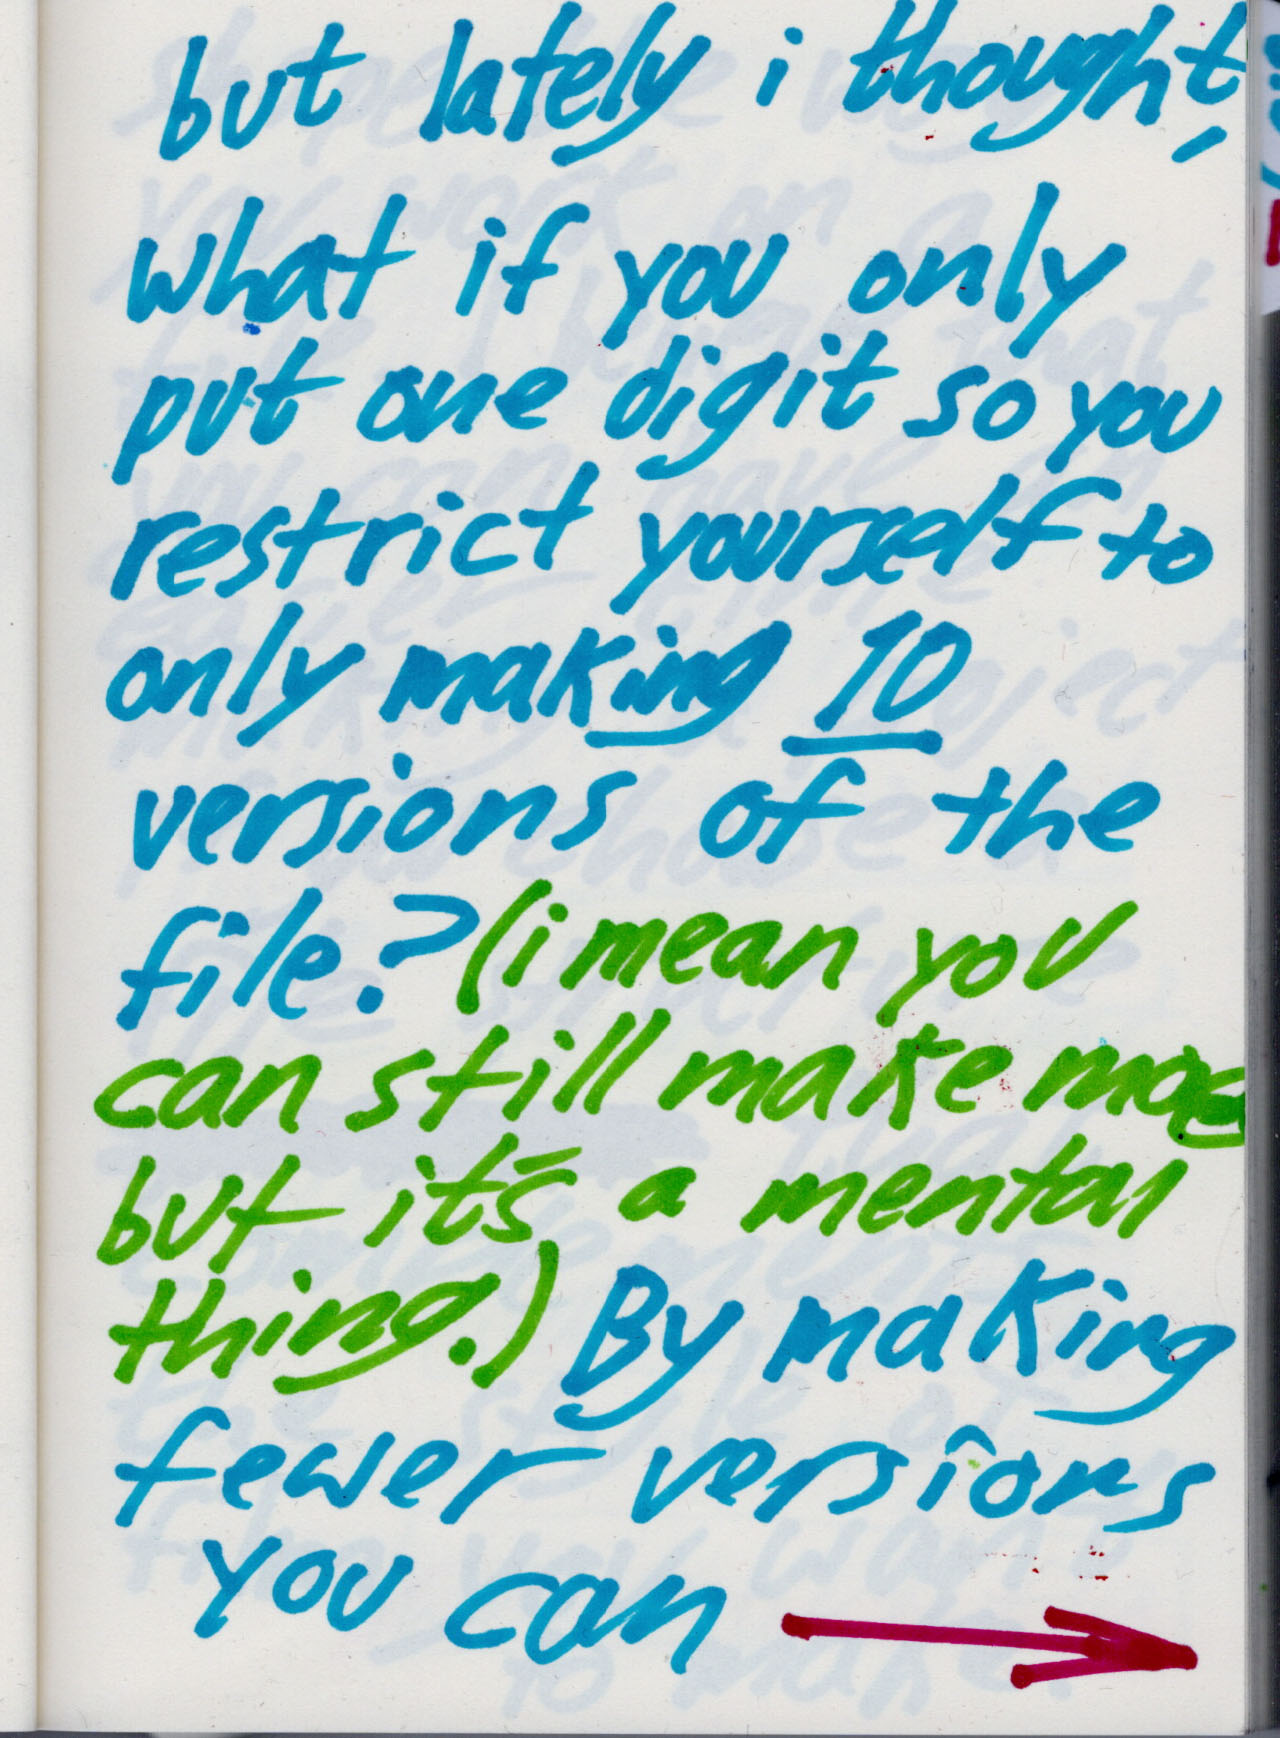
You can also just use one digit at the end of your filename, which tells you that you won't be making more than ten versions of your file. Lately my files have been looking like this:
If you version your file you probably save your file at a different rate than me or anyone else. For example, I usually make around 3 versions a day. Some people save every five minutes. Some don't save at all or only keep one backup.
I usually don't make more than 20 versions. Since animation takes a long time, you can end up with a lot of versions of your file, maybe more than other types of digital art.
Again, this is a way of telling myself not to spend too long on a file. I sometimes get picky and overwork a file instead of just finishing it. Using a single digit number is a subtle change that helps remind me not to spend too much time on one shot.
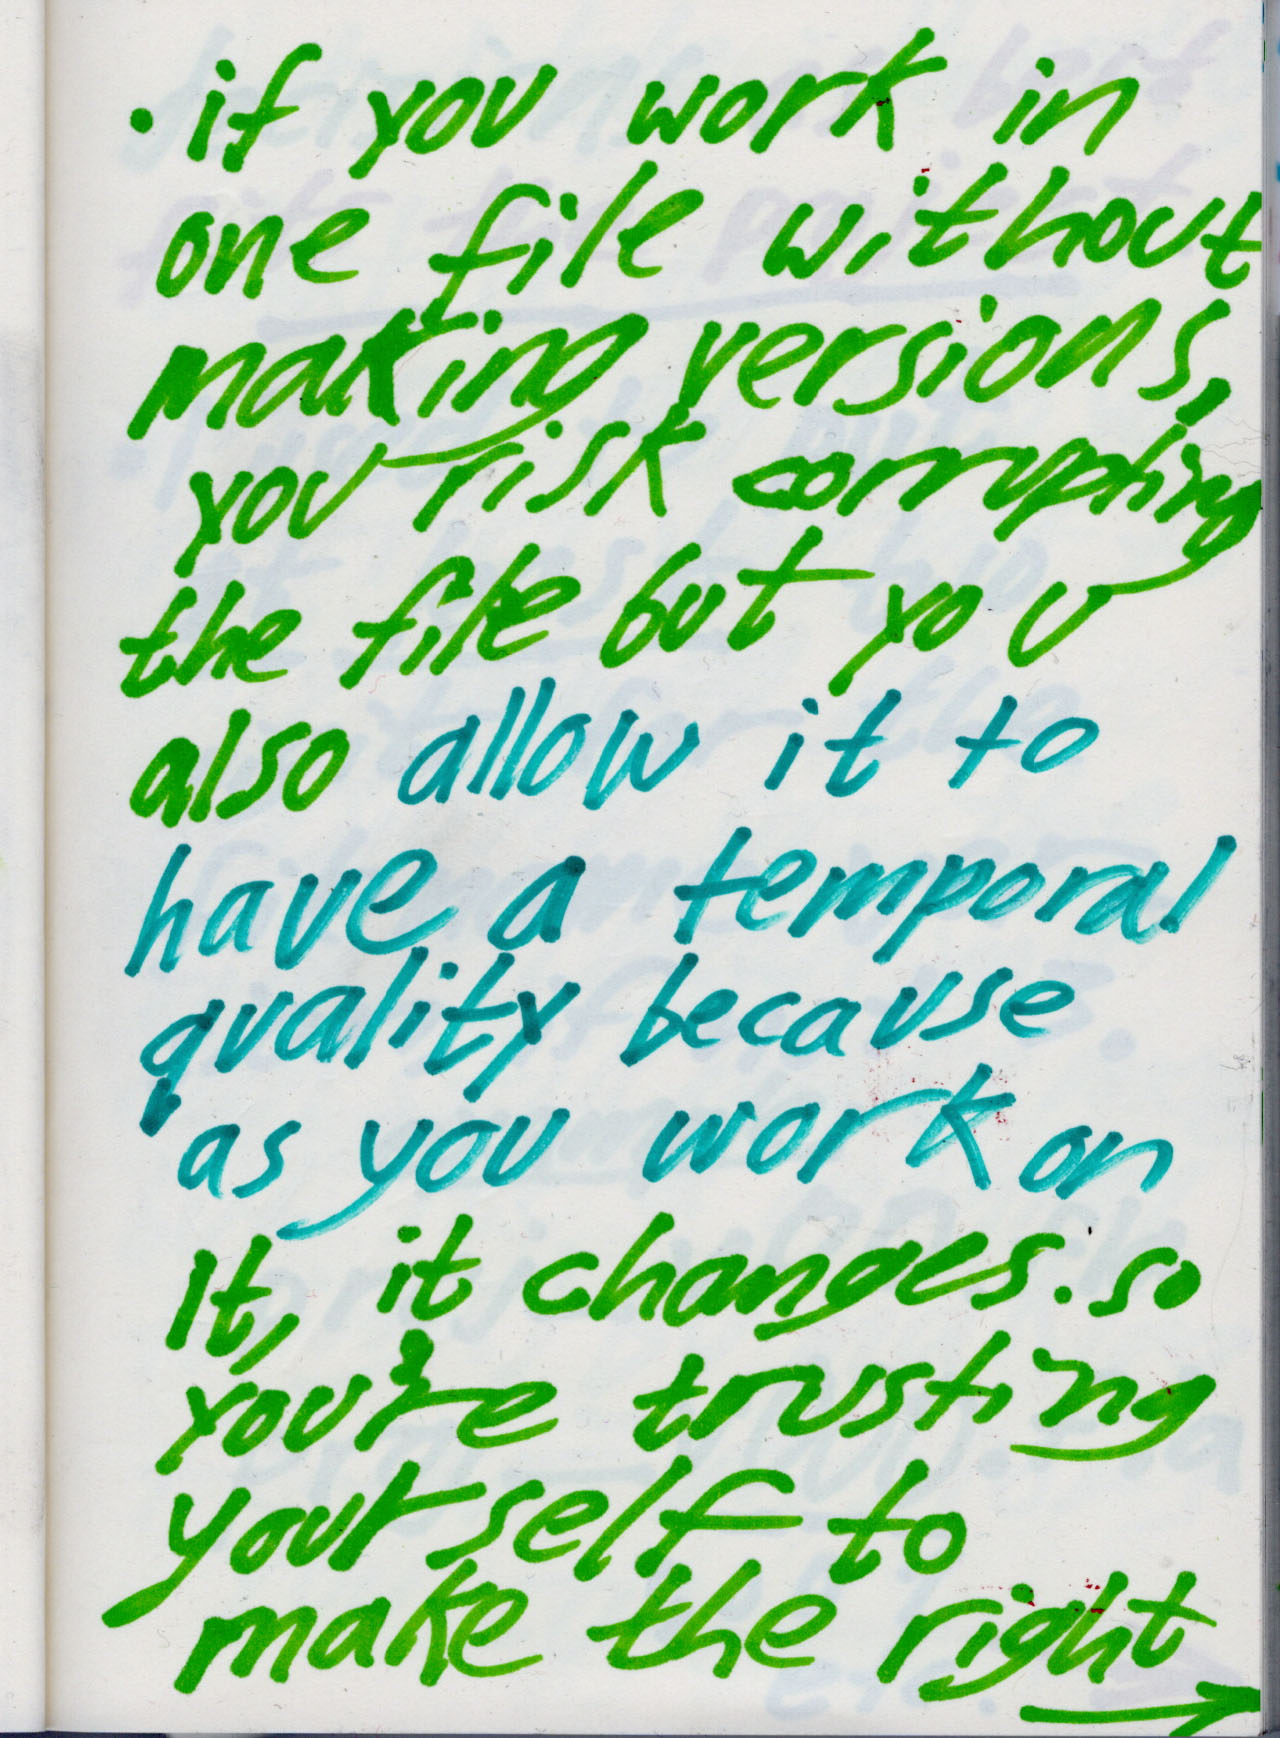
But I know that not everyone versions their files. And while it's important to save your files in case they get corrupted, you don't actually really need to version them. You only really need two: your working file and a backup.
Versioning is mostly for going back to previous versions if you personally mess something up and want to go back. It's like a time machine.
But when you work in just one or two files, you are trusting yourself not to screw up. You are also allowing the art to have a temporal quality, like traditional mediums: You have to trust yourself not to make a mistake or you have to spend time fixing it or start over. Only one version of the file ever exists, and it changes over time. It becomes like physical media.
These are my original notes off of which I based this post.